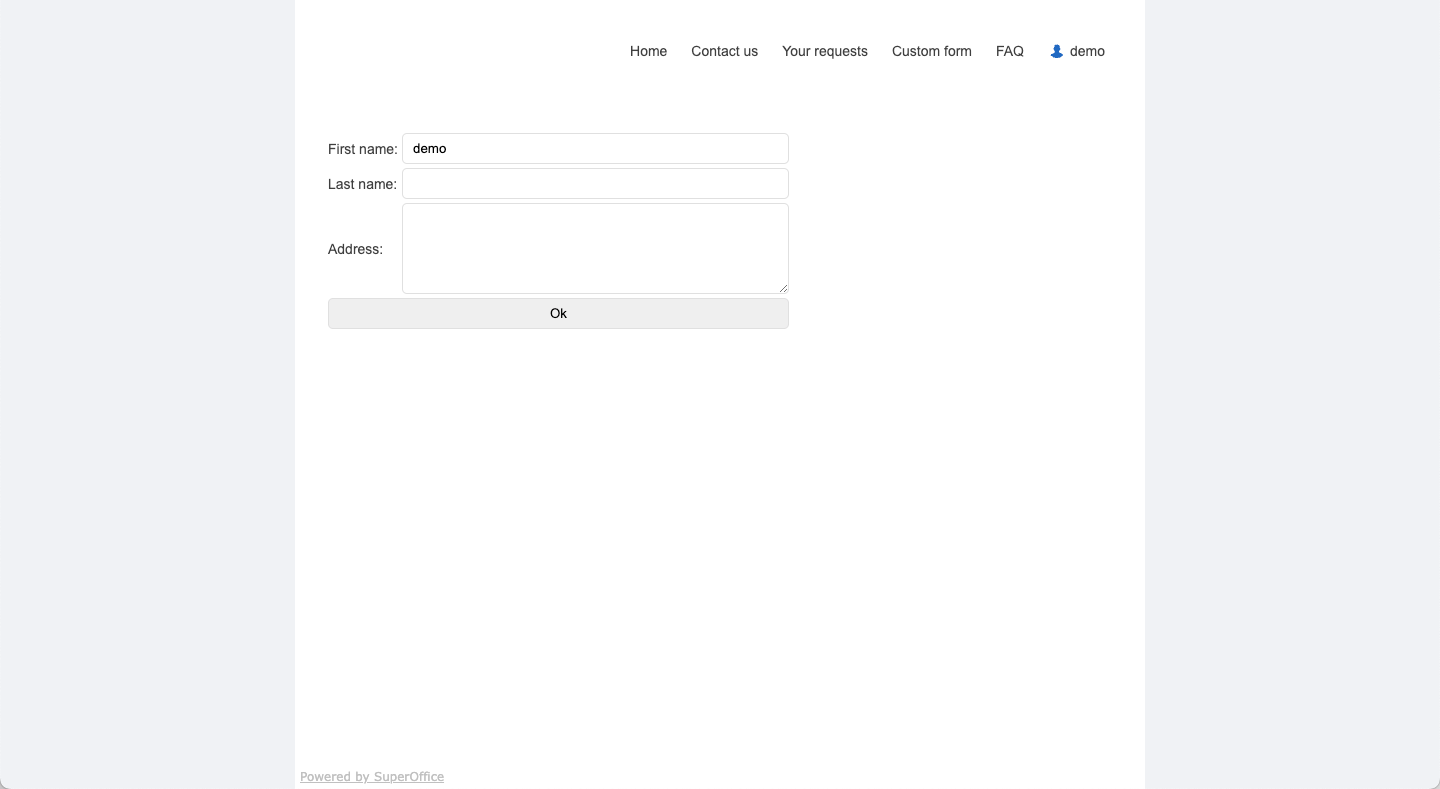
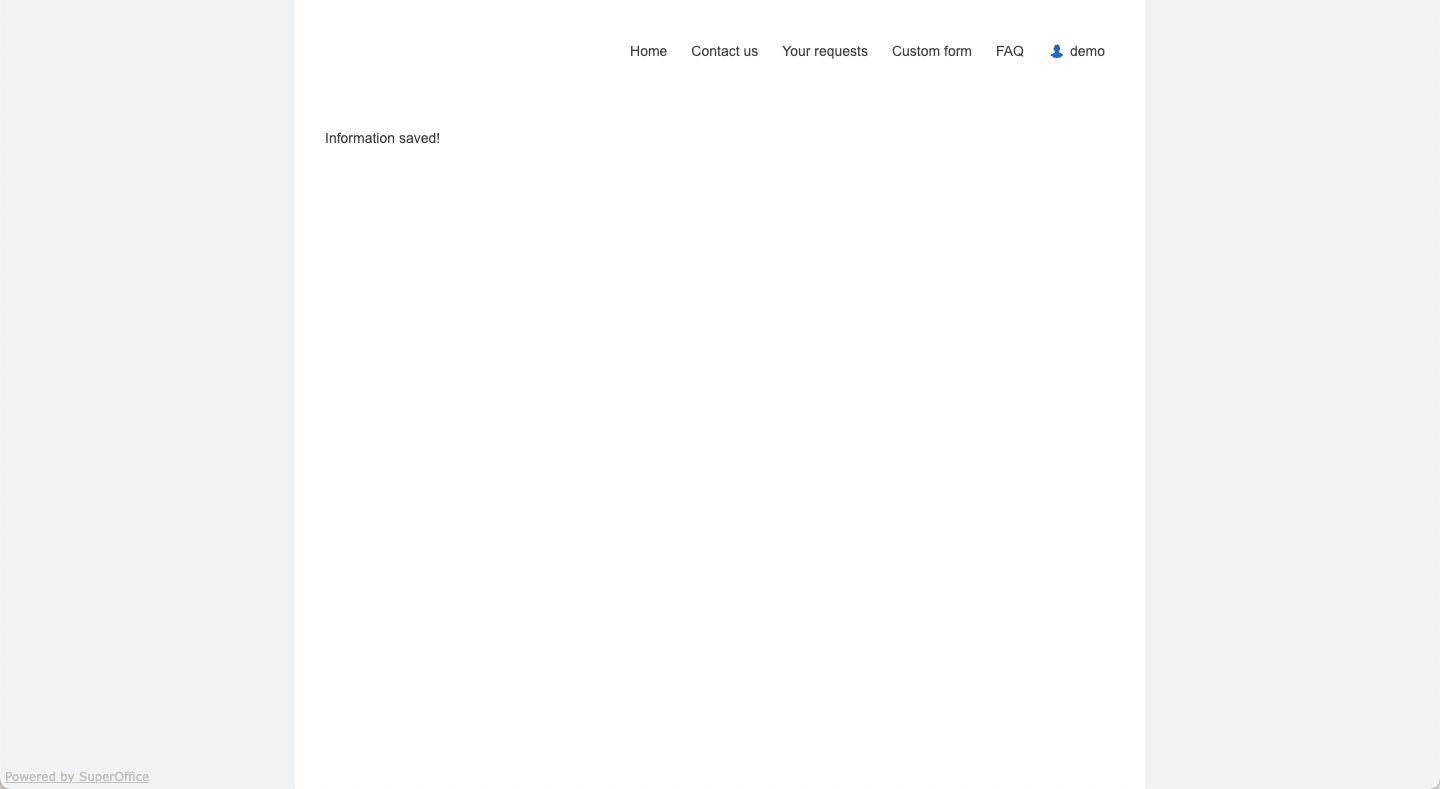
.../scripts/customer.fcgi?action=safeParse&includeId=change-customer-information&key=JJbqoeFSR65ItWS4
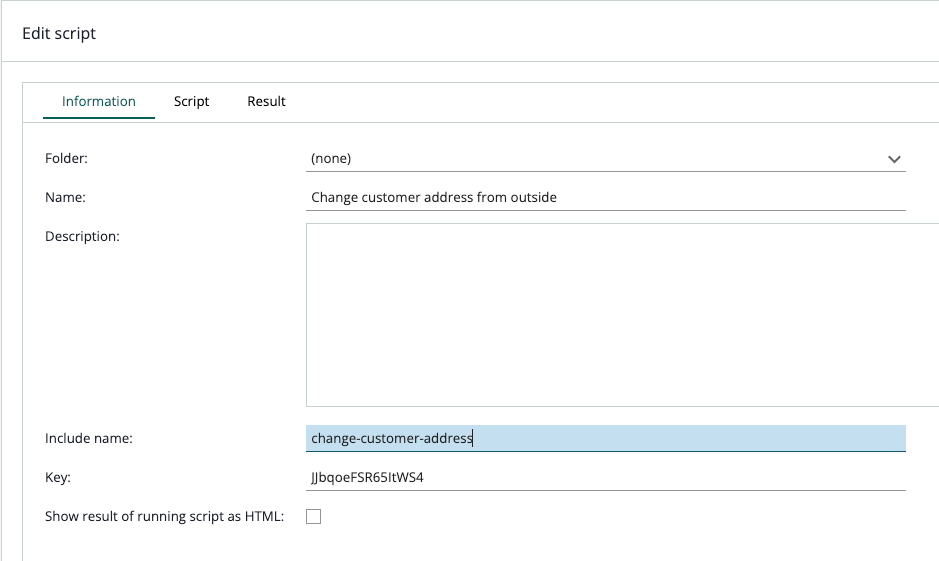 As you can see, there are some important parameters to
 customer.fcgi:
Additionally, you can include any parameters of your choice in the URL. You can retrieve them inside your CRMScript by calling the
getCgiVariable() method. This method will also retrieve any fields sent to this script by any form POST methods, which is what we will use for our custom form.
In this example, I have created a new CRMScript with the following values:
- includeId: change-customer-information
- key: JJbqoeFSR65ItWS4
- body:
<% and %>. The first and last lines define the beginning and end of this embedded language section.
You can execute this script from your customer care center with the following URL. Note that for this particular scenario, I have added an extra field, x_address, to the customer table.
.../scripts/customer.fcgi?action=safeParse&includeId=change-customer-information&key=JJbqoeFSR65ItWS4&withFrame=1
Add to left menu
If you want to, you can add this item to the left menu of the customer care center. To do this, you will have to edit framework.html (in Customer centre source files) to add this item. You only want this screen for logged in customers, which means you will add something like this to your framework.html: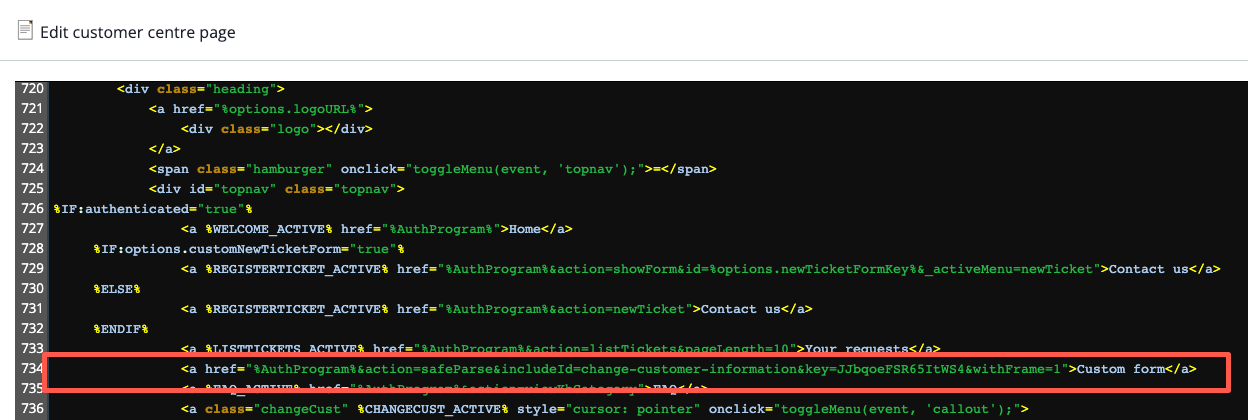 It’s just a copy of another menu line with the modified URL. This is how it looks: