This walk-through covers the legacy WCF-based mirroring service. It uses the
SuperOffice.Crm.Online.Mirroring NuGet package to implement a partner-hosted WCF endpoint.New deployments should use the outbound-only client instead and there is no NuGet package, no WCF service, and no certificate management. See Set up the Database Mirroring client. If you are migrating an existing legacy deployment, see Migrate from the legacy mirroring service.You can download the completed result of these steps on GitHub.
View the DevNet-Database-Mirroring repository on GitHub.
Create a new WCF Service Application in Visual Studio
- In Visual Studio, click File, then New, and then Project.
-
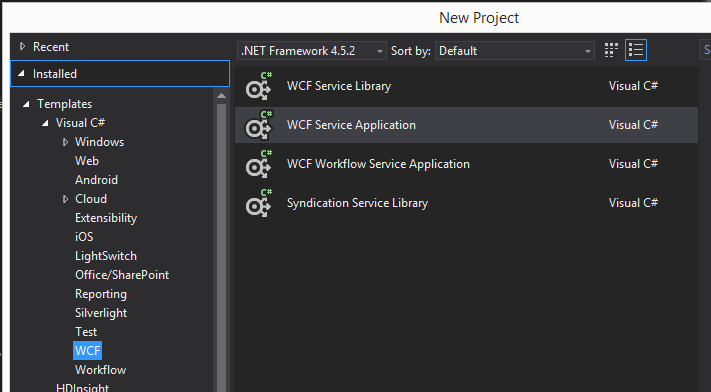
In the New Project dialog, expand the WCF section and select to create a new WCF Service Application.
-
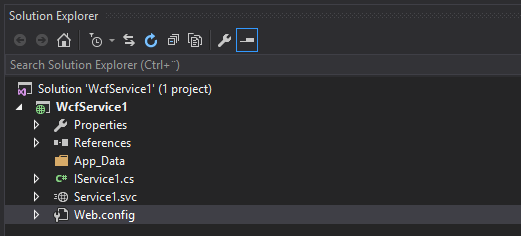
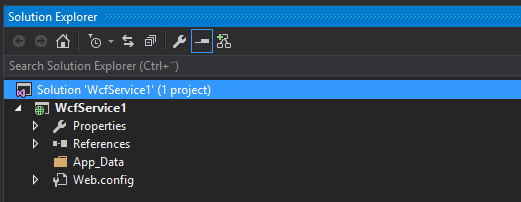
In the Solution Explorer, delete the following files: IService1.cs, Service1.svc, and Service1.cs.
Before:
 After:
Install the NuGet package
-
Open the Package Manager Console:
- Click Tools, then NuGet Package Manager, and then Package Manager Console.
-
Start the installation by typing:
Install-Package SuperOffice.Crm.Online.Mirroring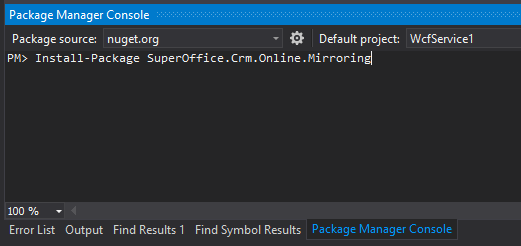
-
Verify that the packages have been added:
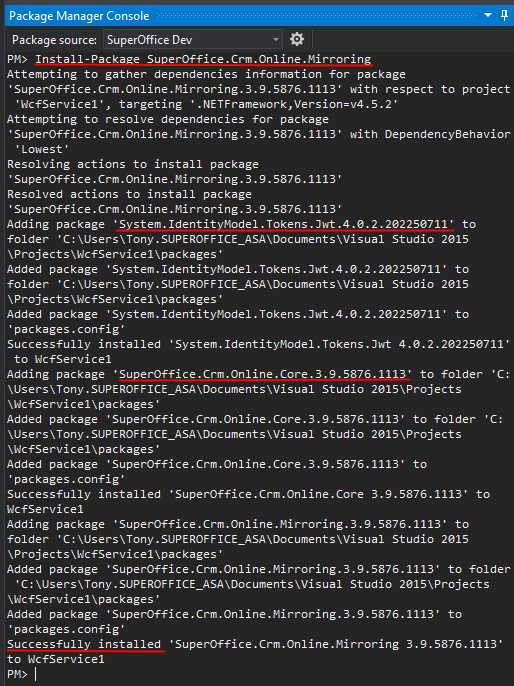
- When you see the successfully installed message in the Package Manager Console, go back to the Solution Explorer.
- Confirm that you have a new assembly references and that the following files have been added to your project: MirroringClientService.svc, MirroringClientService.cs, and Private.txt.
- Open the package.config file and check that you now have the new Mirroring package and its 2 dependencies. Your package versions may be different, and that is OK.

Key points during package installation
- package name (
SuperOffice.Crm.Online.Mirroring) System.IdentityModel.Tokens.JwtdependencySuperOffice.Crm.Online.Coredependency- successfully installed message
Update settings in web.config
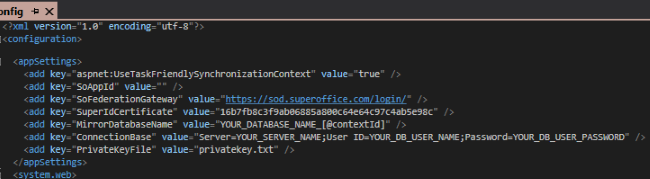
The functionality in the MirroringClientService.cs file helps you resolve a tenant’s context identifier to a particular database, create the database if necessary, discover and provide the service’s ApplicationToken, as well as the private certificate key it must use to sign the token placed in the AuthenticationResponse message. However, you must still provide those key pieces of information in the project’s web.config file.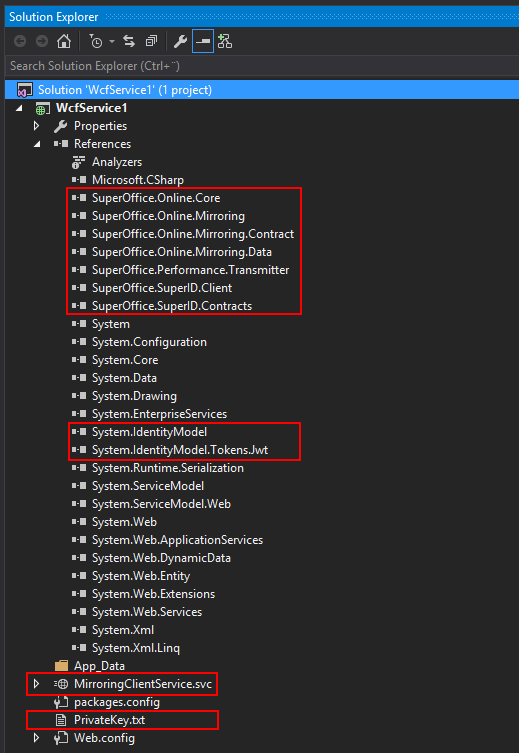
appSettings section
SoAppId: set to client ID (application environment-specific) ConnectionBase: the partial connection string used to connect your SQL Server host MirrorDatabaseName: will be used as a template for accessing the specific database on that server based on the context identifier passed to this service from SuperOffice PrivateFileKey: the name of the file that contains your private certificate key in the RSA XML<RSAKeyPair> and <RSAKeyValue> format. Critical for initial authentication!
You get the private certificate key for all environments from SuperOffice.
system.serviceModel section
Because synchronizing a database requires a lot of data, it’s important to set size options to the maximum capabilities for the mirroring service. A complete system.serviceModel configuration example: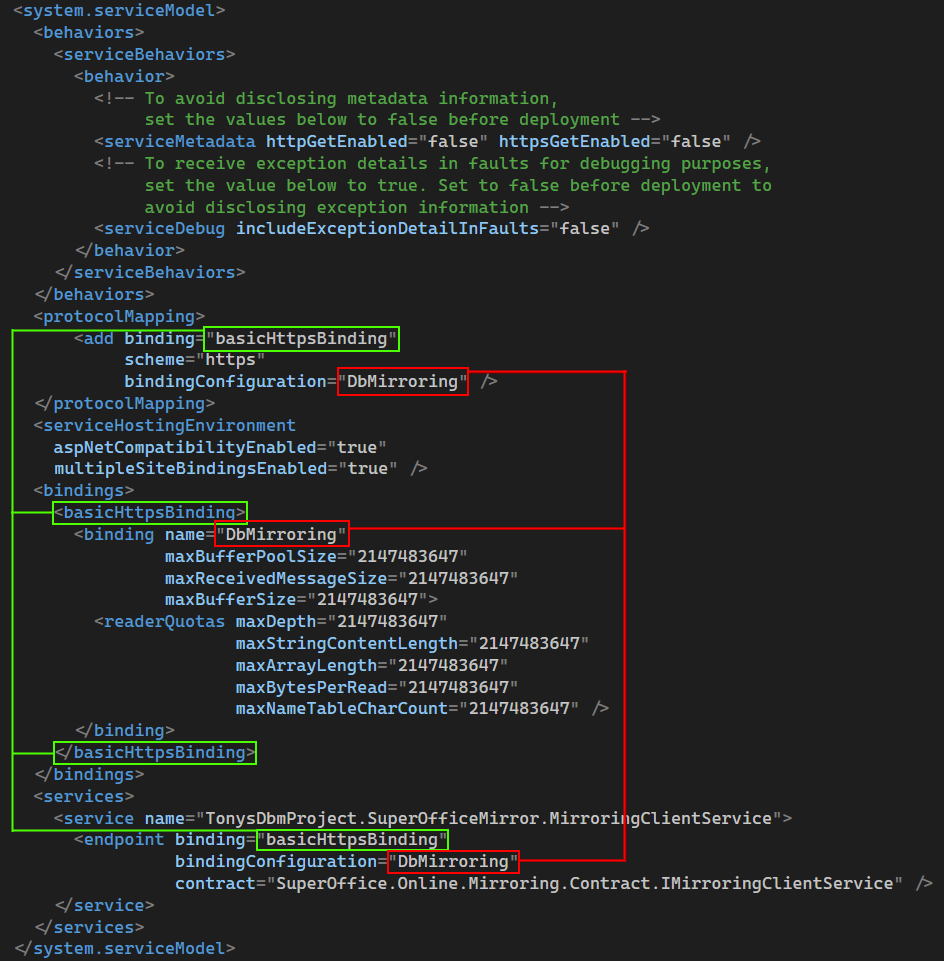
Expose service to a public secure URL
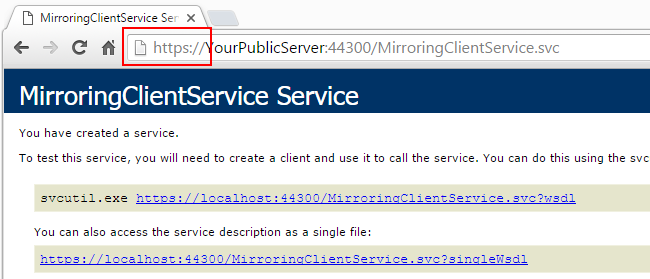
Open the service in a browser: In the solution directory, right-click the MirroringClientServer.svc file, then click View in Browser. Assuming everything is correctly in place, you will see the default IIS or IISExpress web service page.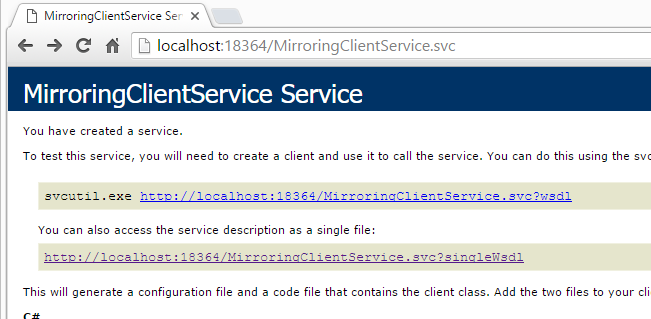 Finally, you will want to expose this service to a public HTTPS URL for the SuperOffice Mirroring Task to access it.
This will be the URL you must give SuperOffice when registering your application.
Remember to specify this URL as the Database Mirror URL, not the Redirect URL.
Finally, you will want to expose this service to a public HTTPS URL for the SuperOffice Mirroring Task to access it.
This will be the URL you must give SuperOffice when registering your application.
Remember to specify this URL as the Database Mirror URL, not the Redirect URL.