

Internally, the new client is sometimes referred to as the Replication Client. This is the same Database Mirroring feature. The binary is named
SuperOffice.Online.Replication.Client.exe, the Operation Center tab is labelled Replication, and the metadata table is _ReplicationState. These literal names appear throughout the product UI and are kept as-is in this guide.- Prerequisites - what you need before you start
- Step 1: Download the client from Operation Center
- Step 2: Configure appsettings.json
- Step 3: Provision (authenticate and create session)
- Step 4: Run a manual sync
- Step 5: Install as a Windows Service
- Step 6: Validate
- Configuration reference
- Command reference
- Logging and diagnostics
- Operating considerations
Prerequisites
Make sure the following are in place before starting:- .NET 8 runtime installed on the host machine (or use the self-contained build).
- SQL Server instance accessible from the host. An empty database is recommended for the initial setup.
- The SQL user needs
db_ownerpermissions on the replica database, so the client can manage tables and the internal_ReplicationStatetable. - Outbound HTTPS access from the host to the SuperOffice Replication Dispatcher and Service URLs.
- Local administrator rights on the host for provisioning and Windows Service installation.
- A SuperOffice Online subscription that includes the Database Mirroring add-on.
[!IMPORTANT] There are no inbound ports to open, and no SuperOffice-issued certificates to install. The client connects outbound only.
Step 1: Download the client
- Sign in to Operation Center (OC) at https://online.superoffice.com/OC2.
-
If you have access to more than one tenant, navigate to the customer tenant and open the Replication tab.
If the Replication tab is missing, the customer does not have a Database Mirroring subscription. Contact SuperOffice to enable it.
-
Download the client zip file and extract it to a folder on the host, for example:
Step 2: Configure appsettings.json
Openappsettings.json in the extracted folder and update the connection string:
Choose the destination schema (optional)
By default the client preserves the source schema from SuperOffice, typicallycrm7. If your downstream applications expect tables in dbo (or another schema), set TablePrefix before you run provision:
TablePrefix only takes effect during the initial snapshot. Changing it after provisioning does not move tables between schemas. See Schema alignment in the migration guide for details.Step 3: Provision (authenticate and create session)
Provisioning authenticates your administrator account and downloads the session configuration. Run this command from the extracted client folder:3.1 Approve the Database Mirroring Service
You are redirected to a SuperOffice consent page asking you to approve the Database Mirroring Service by SuperOffice AS.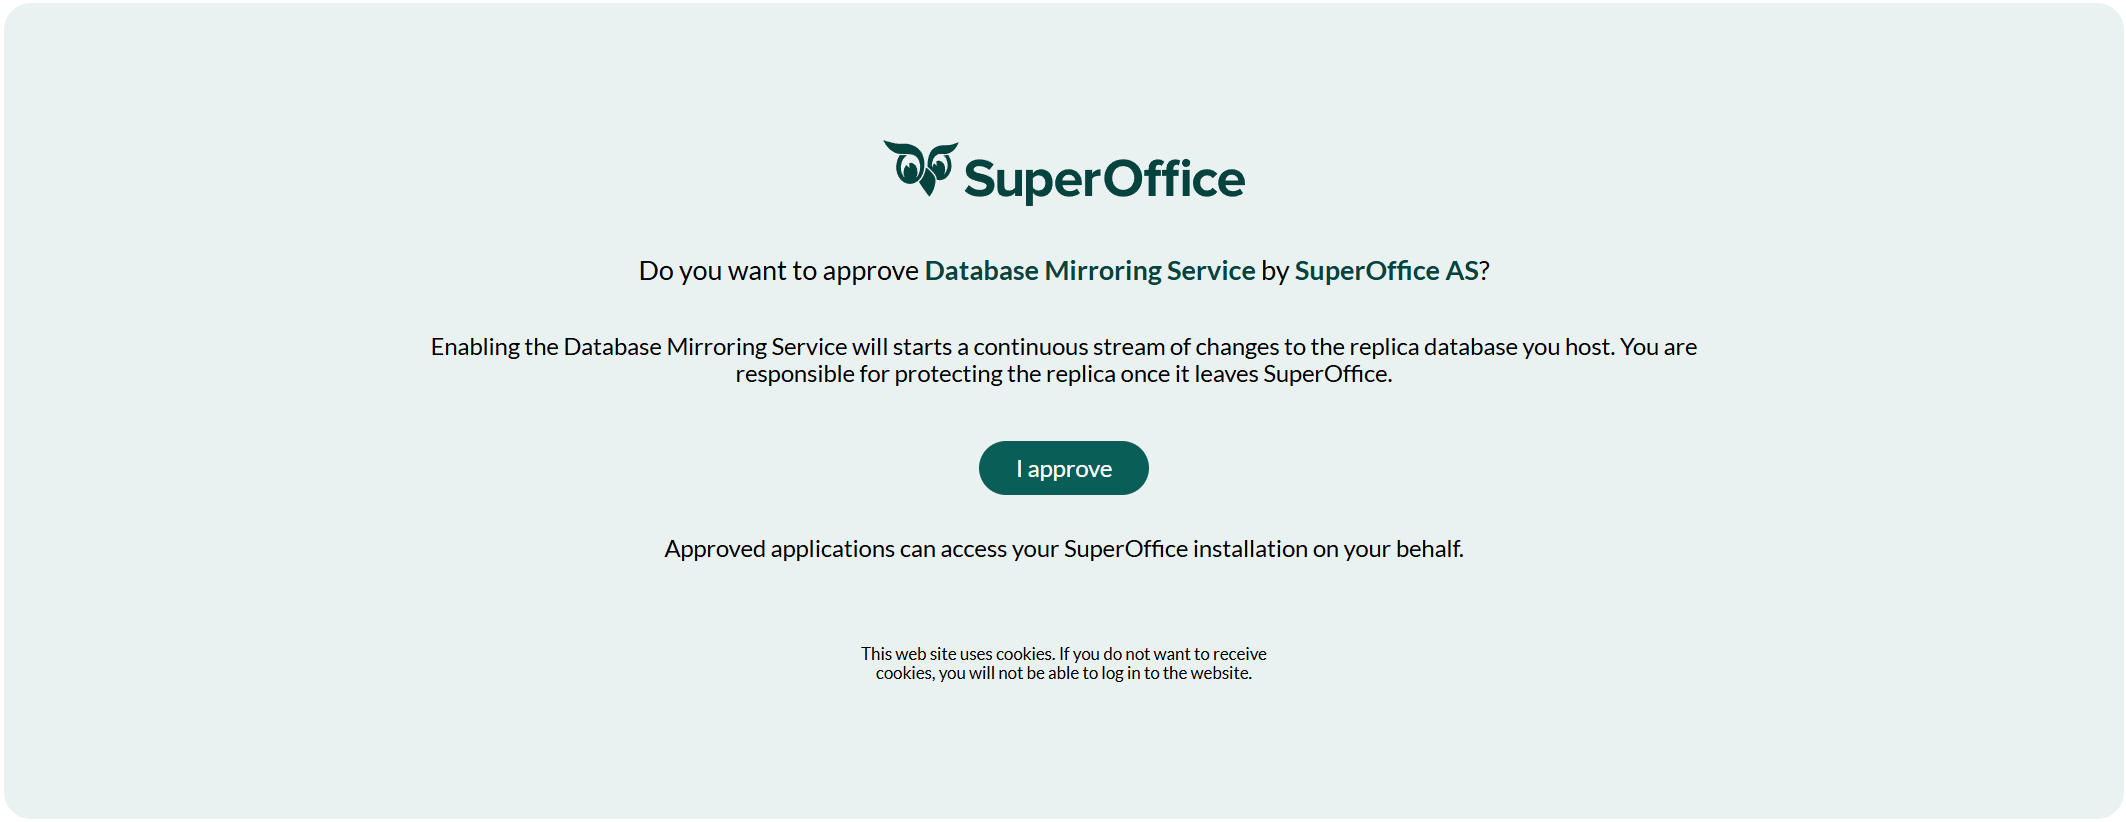 Click I approve to continue.
3.2 Create the replication session
After approval you are taken to the Provision Replication Session page. Your tenant identity is shown automatically. Enter a Session Name and click Create session.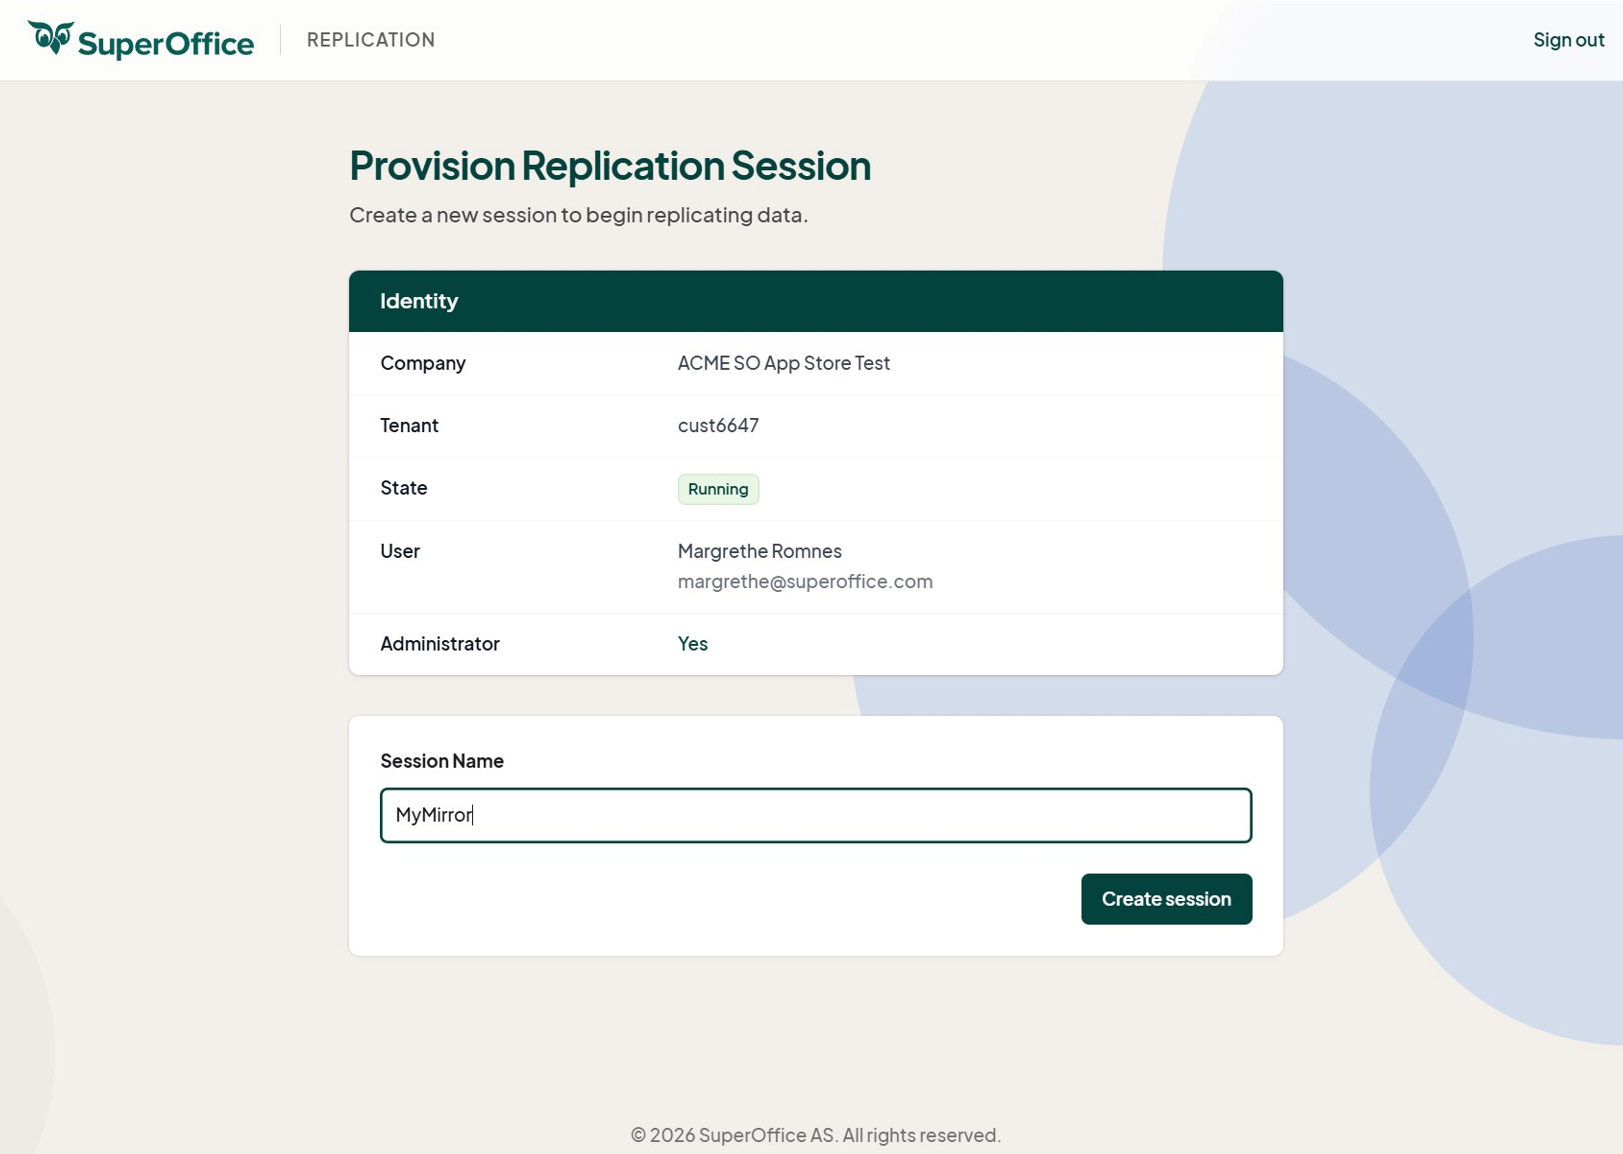
3.3 Wait for provisioning to complete
Provisioning runs through five phases. It typically takes a few minutes, depending on database size.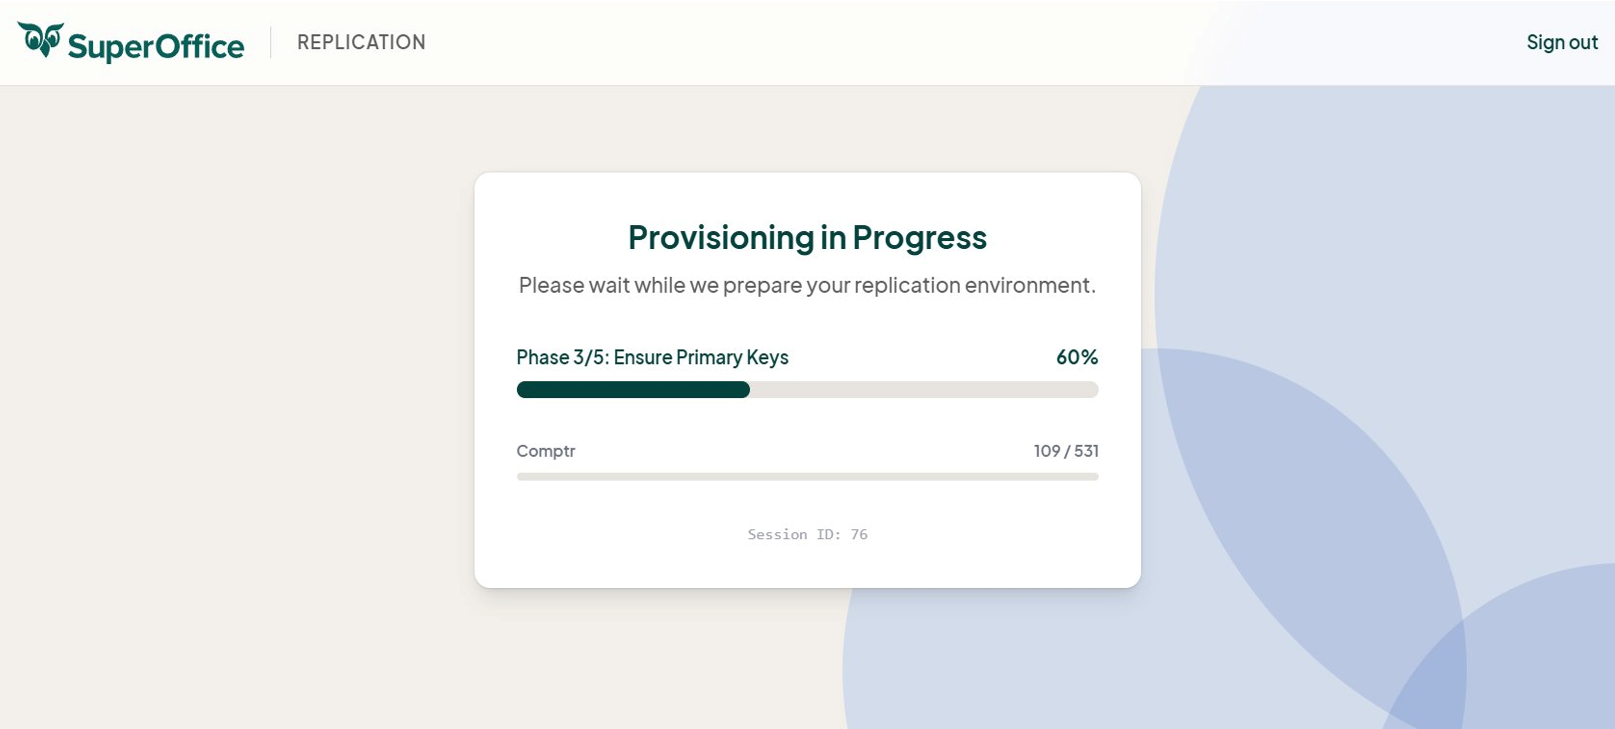 When you see the green Provisioning complete banner, the browser closes automatically and the terminal shows the results.
3.4 Confirm provisioning in the terminal
The terminal displays the provisioning summary: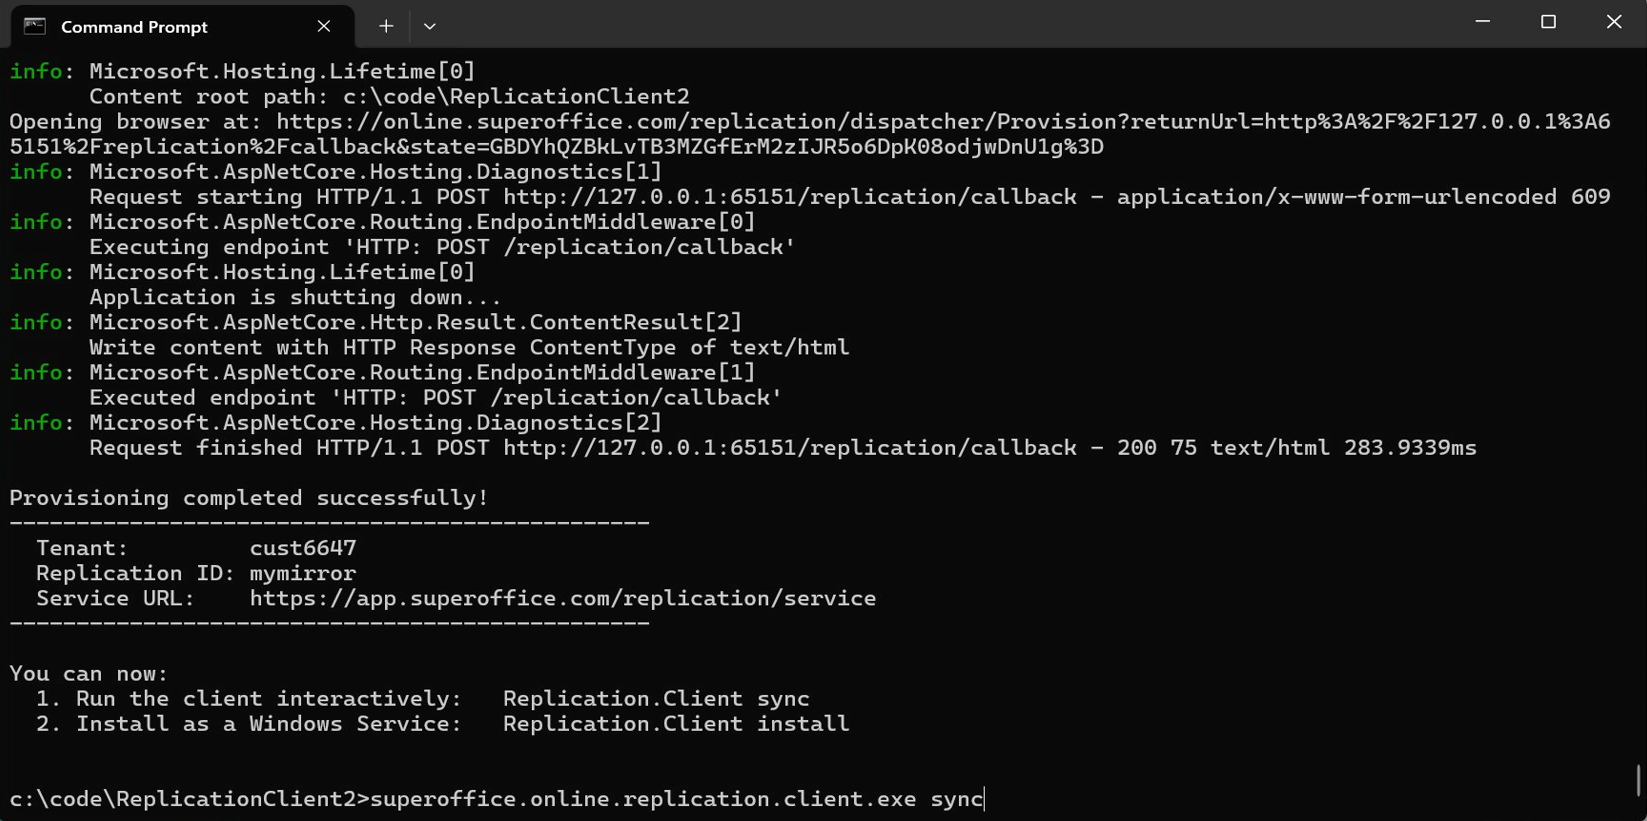 Verify the output shows:
Provisioning completed successfully!- Your Tenant ID (for example,
cust6647) - The Replication ID (the session name you entered, lower-cased)
- The Service URL (for example,
https://app.superoffice.com/replication/service)
_ReplicationState table in the replica database and is encrypted with Windows DPAPI (LocalMachine scope).
Step 4: Run a manual sync
Before installing as a Windows Service, run a manual sync to verify replication works and to perform the initial data load:![Sync in progress - tables being created in the [crm7] schema of the replica database -screenshot](/media/loc/en/online/replication-sync-progress.png) Wait until the sync completes. The initial sync can take several minutes for larger tenants. Subsequent syncs are near real-time (typically within seconds).
Wait until the sync completes. The initial sync can take several minutes for larger tenants. Subsequent syncs are near real-time (typically within seconds).
Step 5: Install as a Windows Service
Once the manual sync is verified, install the client as a Windows Service:sc start command. Run it to start the service:
Step 6: Validate
Confirm the setup is working correctly:- Open SQL Server Management Studio and check that tables exist in the expected schema (
crm7by default, or whatever you set asTablePrefix) of your replica database. - Run row-count queries on key tables (for example,
contact,person,sale) and compare with the source. - Check that the
_ReplicationStatetable exists. It stores the encrypted session tokens and progress offsets. - Monitor the Windows Service status in Services (services.msc). It should show Running.
- Make a change in SuperOffice Online and verify it appears in the replica within seconds.
Configuration reference
These keys live under the root ofappsettings.json. The defaults suit most customers and are worth tuning only when network conditions or replica throughput become a bottleneck.
Command reference
...exe is shorthand for SuperOffice.Online.Replication.Client.exe.Logging and diagnostics
The client supports three logging sinks out of the box. They can be combined, enabling one does not disable the others.Windows Event Log (default)
When run as a Windows Service, the client writes to Event Viewer → Windows Logs → Application under the sourceSuperOffice Replication Client. Log levels are controlled in appsettings.json:
Information for normal operation, Warning to reduce noise, and Debug only for short troubleshooting sessions - Debug is verbose.
File logging with NLog
If annlog.config file is present next to the executable, the client picks it up automatically and routes logs through NLog. A minimal configuration:
SuperOffice.* to Debug while leaving everything else at Info. Async wrappers are available where logging volume becomes a performance concern.
Application Insights
If you run in Azure or already use Application Insights for observability, add a connection string to enable structured telemetry, dashboards, and alerting:Operating considerations
A few points worth knowing:-
Versioning. The cloud may enforce a minimum client version. An out-of-date client stops replicating and logs a critical error. Plan a periodic upgrade window. Upgrades are a stop / replace binaries / start cycle and preserve
appsettings.json,nlog.config, and the session state in the database. - Multiple environments on one host. Test and Production clients can coexist by unzipping into separate folders, pointing each at its own replica database, and provisioning each independently. The installer derives unique service names from the session, so they do not collide.
- Monitoring from the SuperOffice side. Operation Center surfaces session health, last check-in time, and connector diagnostics. Customers do not see this UI directly, but it is the primary signal SuperOffice operations use when reacting to incidents.
- Lifecycle events. Database moves, restores, suspensions, and resumptions are handled by the standard tenant operations sagas on the SuperOffice side. They reset offsets and trigger a fresh snapshot, which the client absorbs as upserts. You do not normally need to intervene.
- Recovery from extended downtime. Change events are retained for 7 days. If the client is offline longer than that window, see Force re-sync.