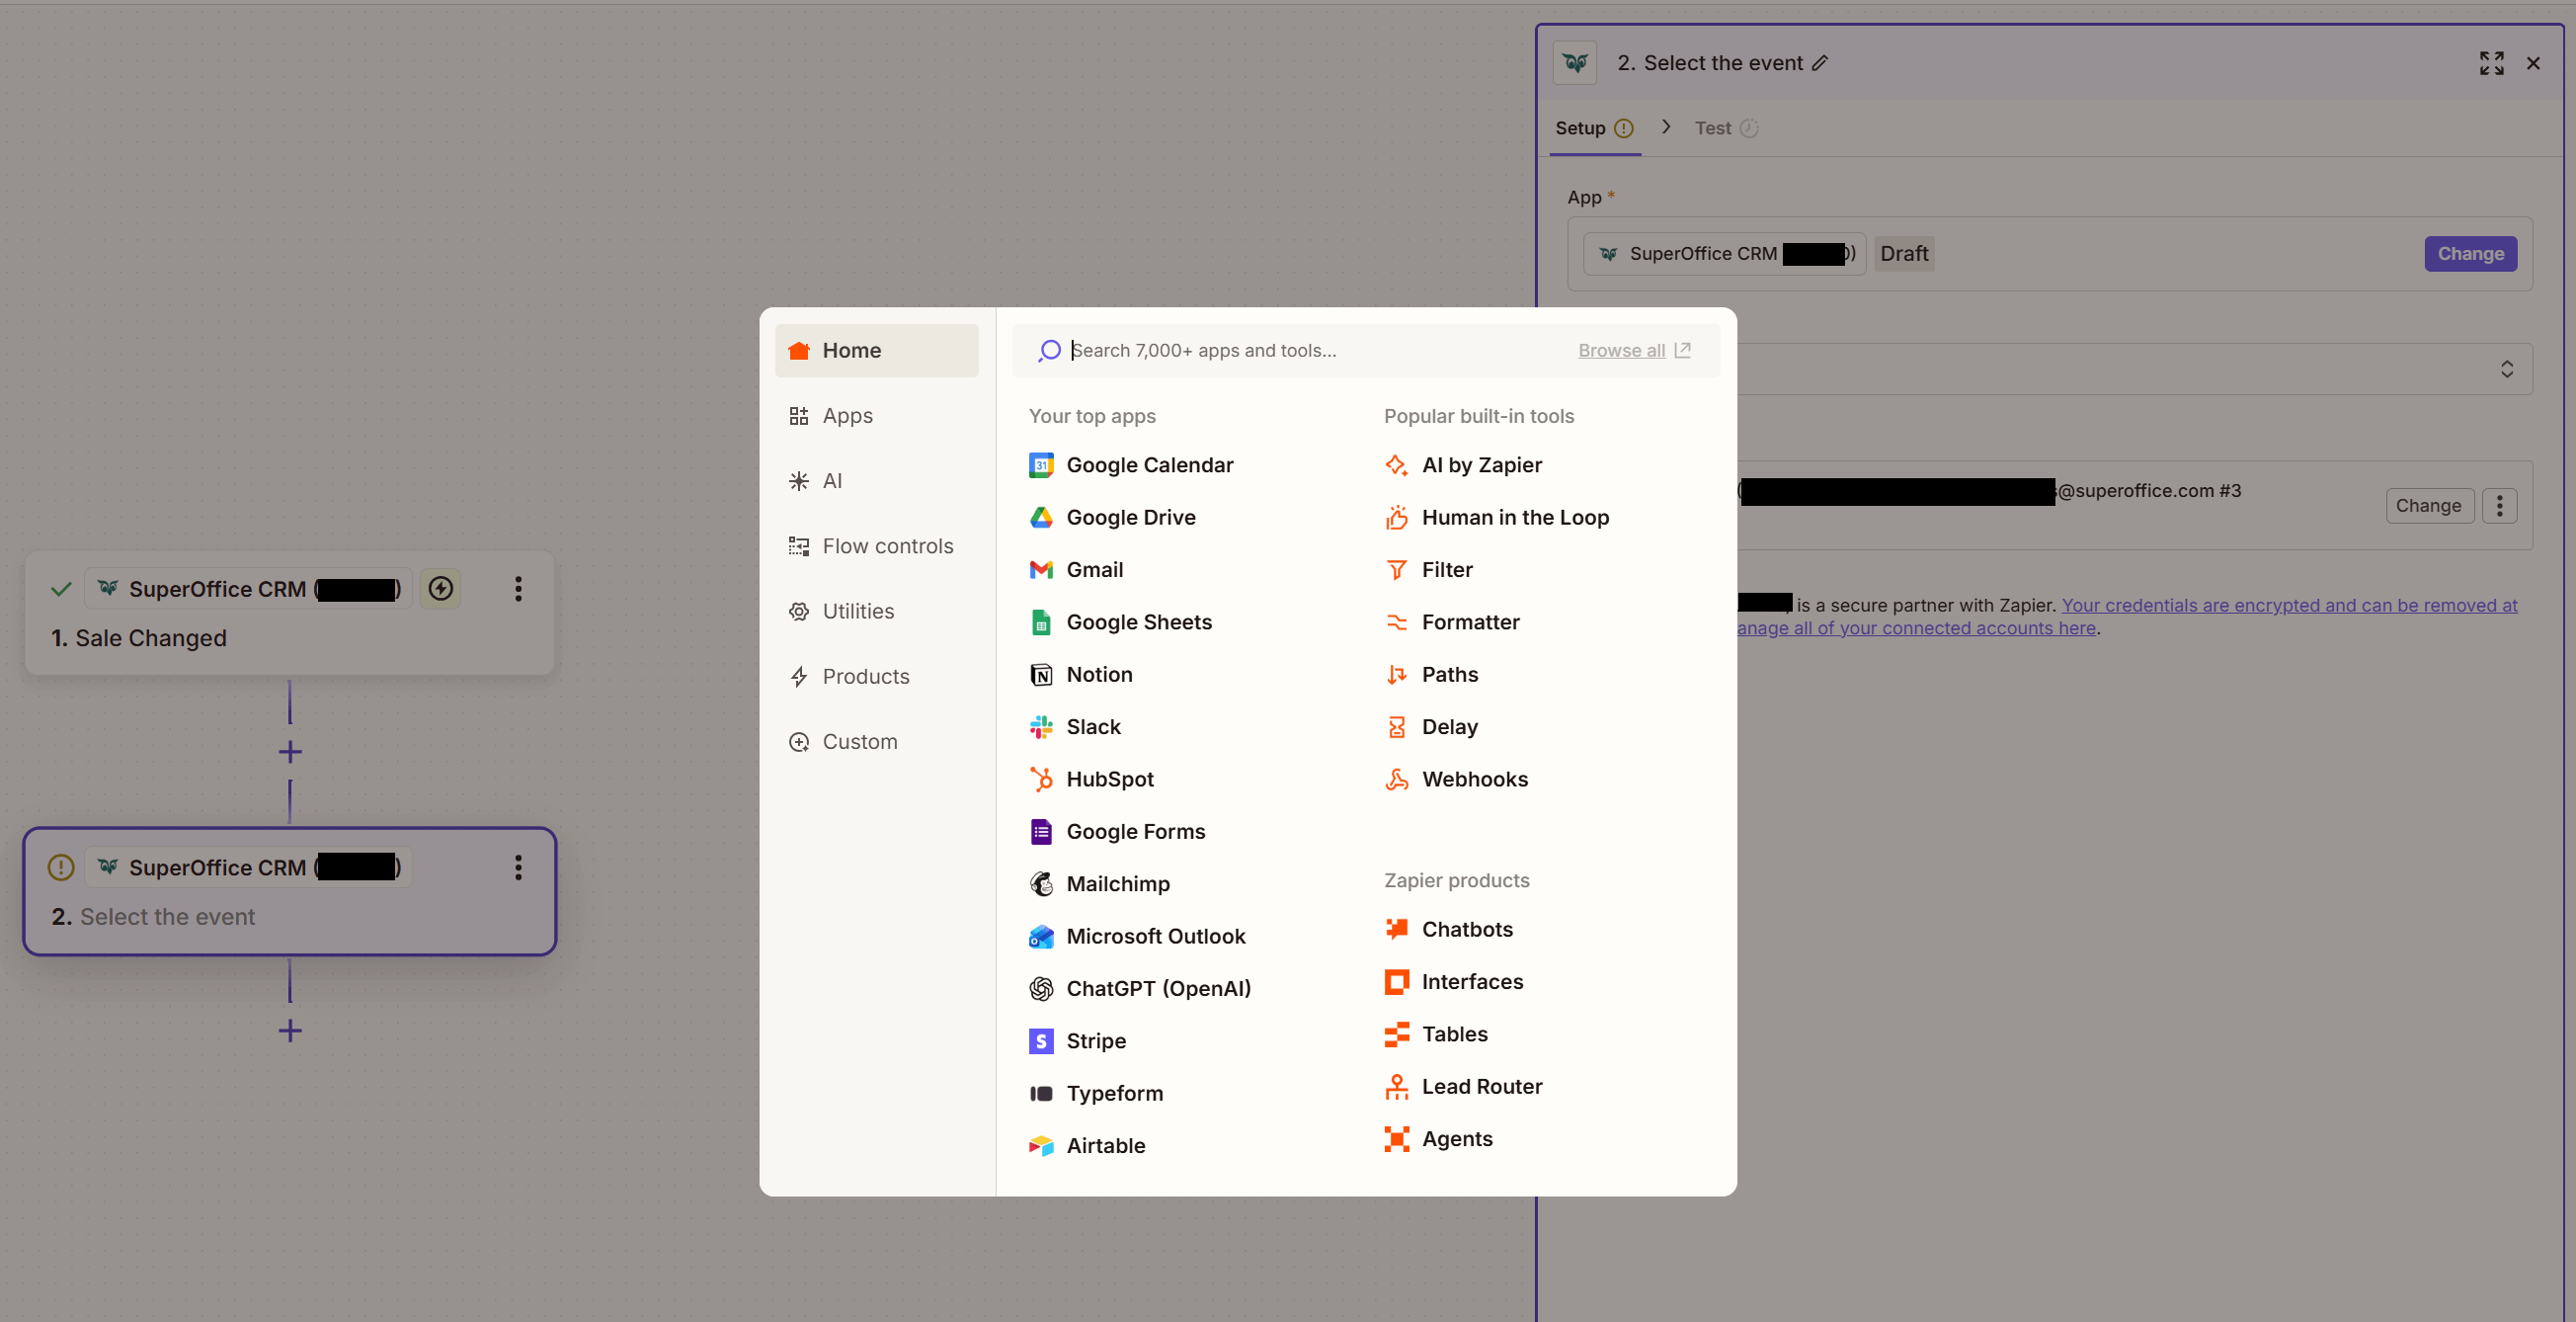
To create Zaps, you must connect a SuperOffice CRM account that has General Administrator user rights.
Define trigger
-
On the Zaps page, click Create. You will be taken to a new Zap creation window.

- In the Trigger step, select SuperOffice CRM as the trigger application.
-
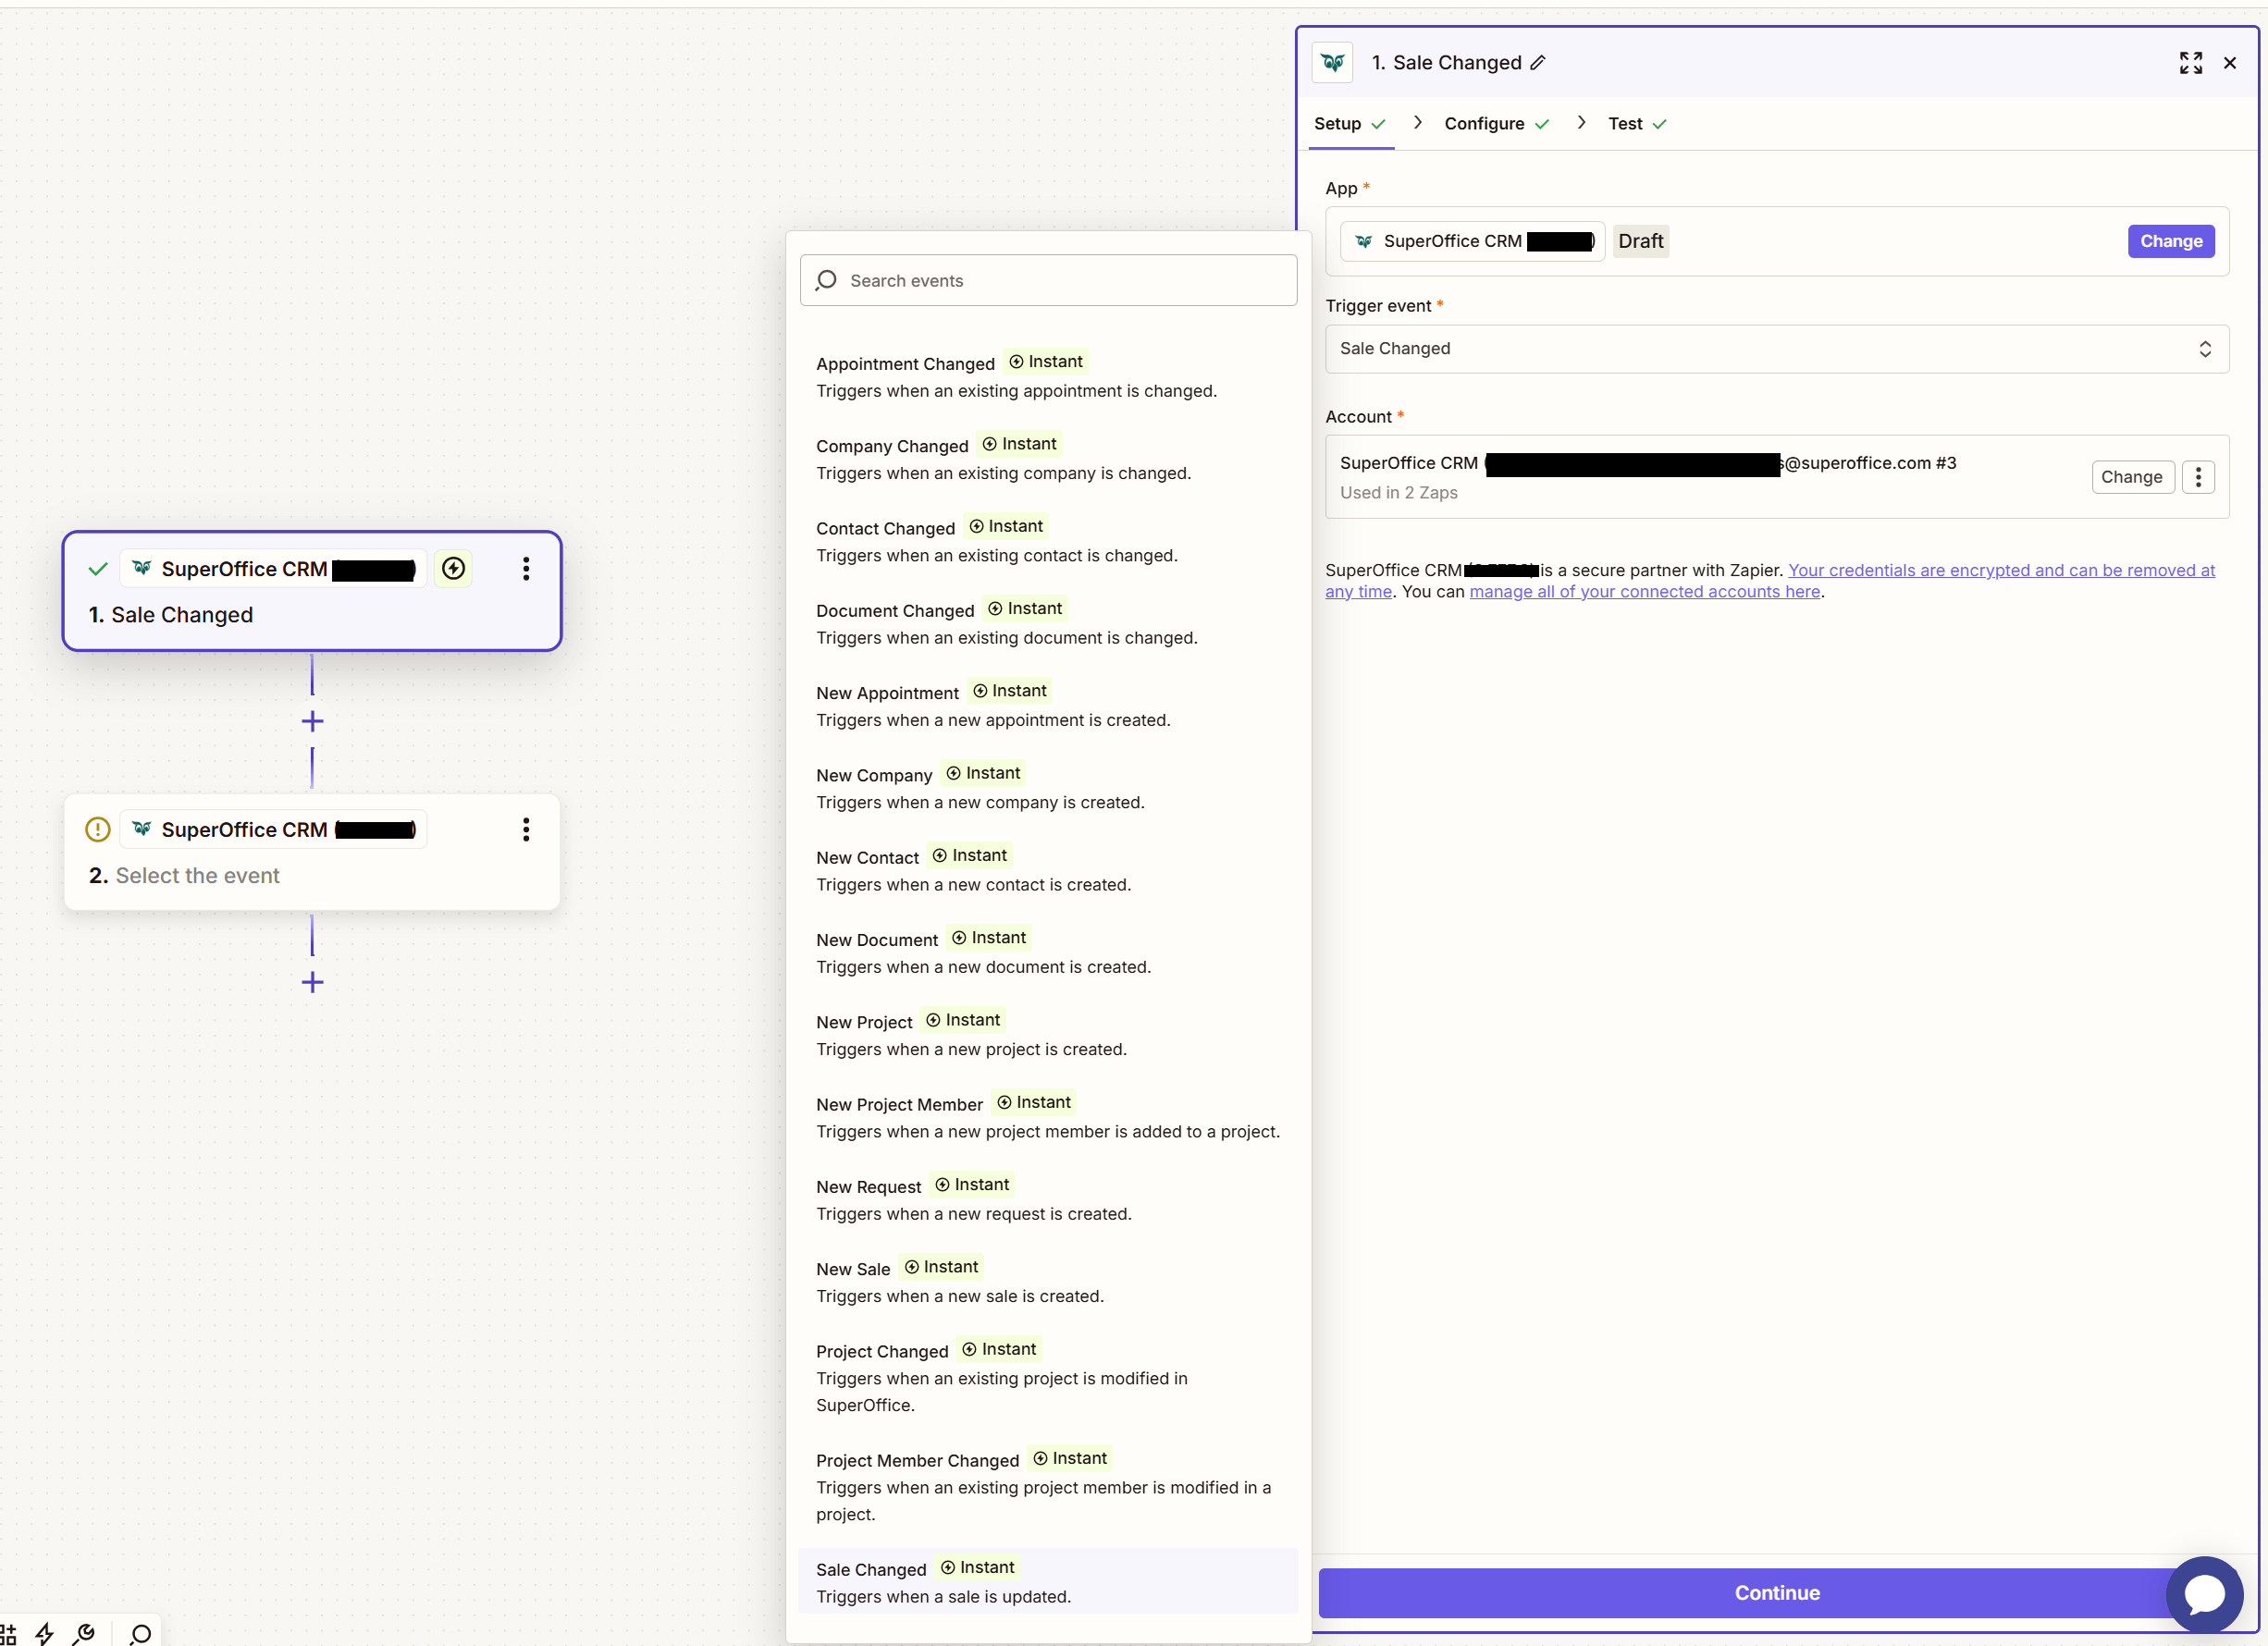
Choose a trigger and select Save + Continue.
For this example, select Sale Changed.
-
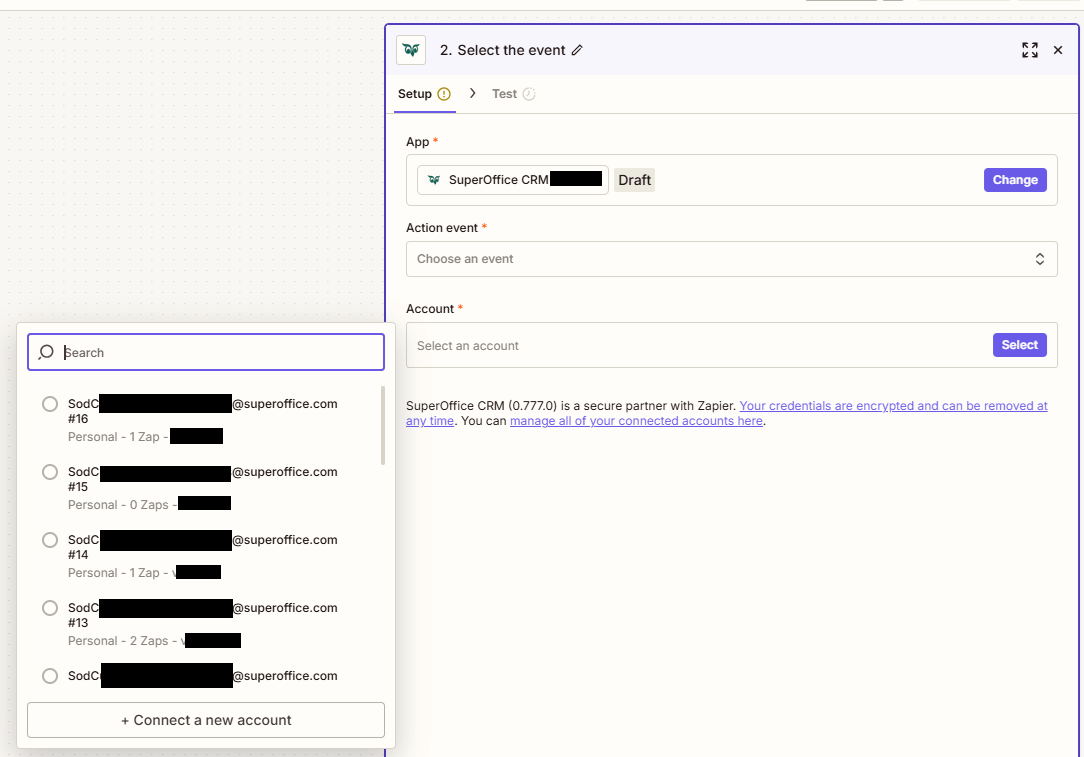
Select the tenant (database) to link:
- Choose one of the listed accounts, or
- Select Connect a Connect a new Account to link another tenant.
- Select Save + Continue.
-
Define the change (event) that should trigger the Zap. The available options depend on the previously selected trigger.
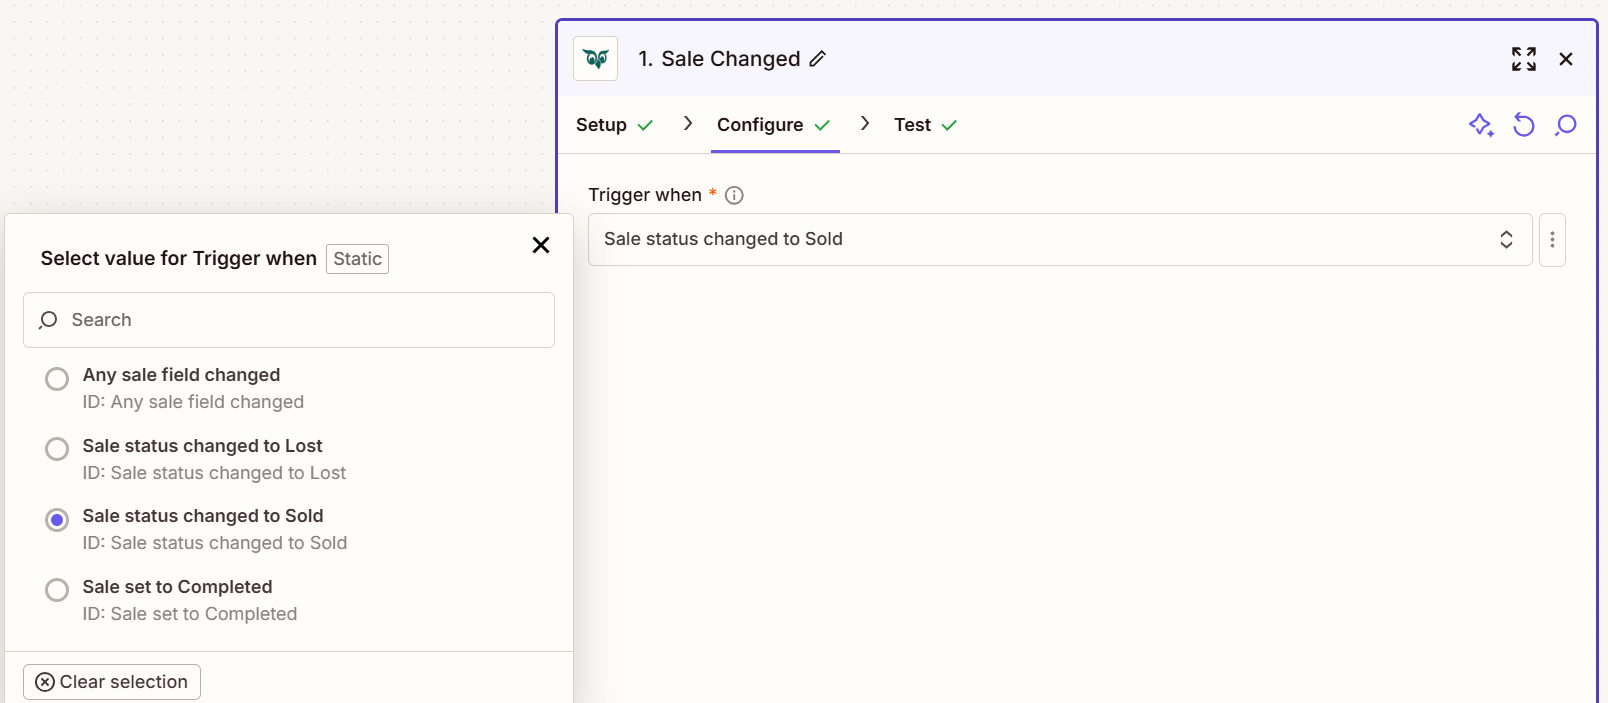 For this example, select Sale Status Changed To Sold.
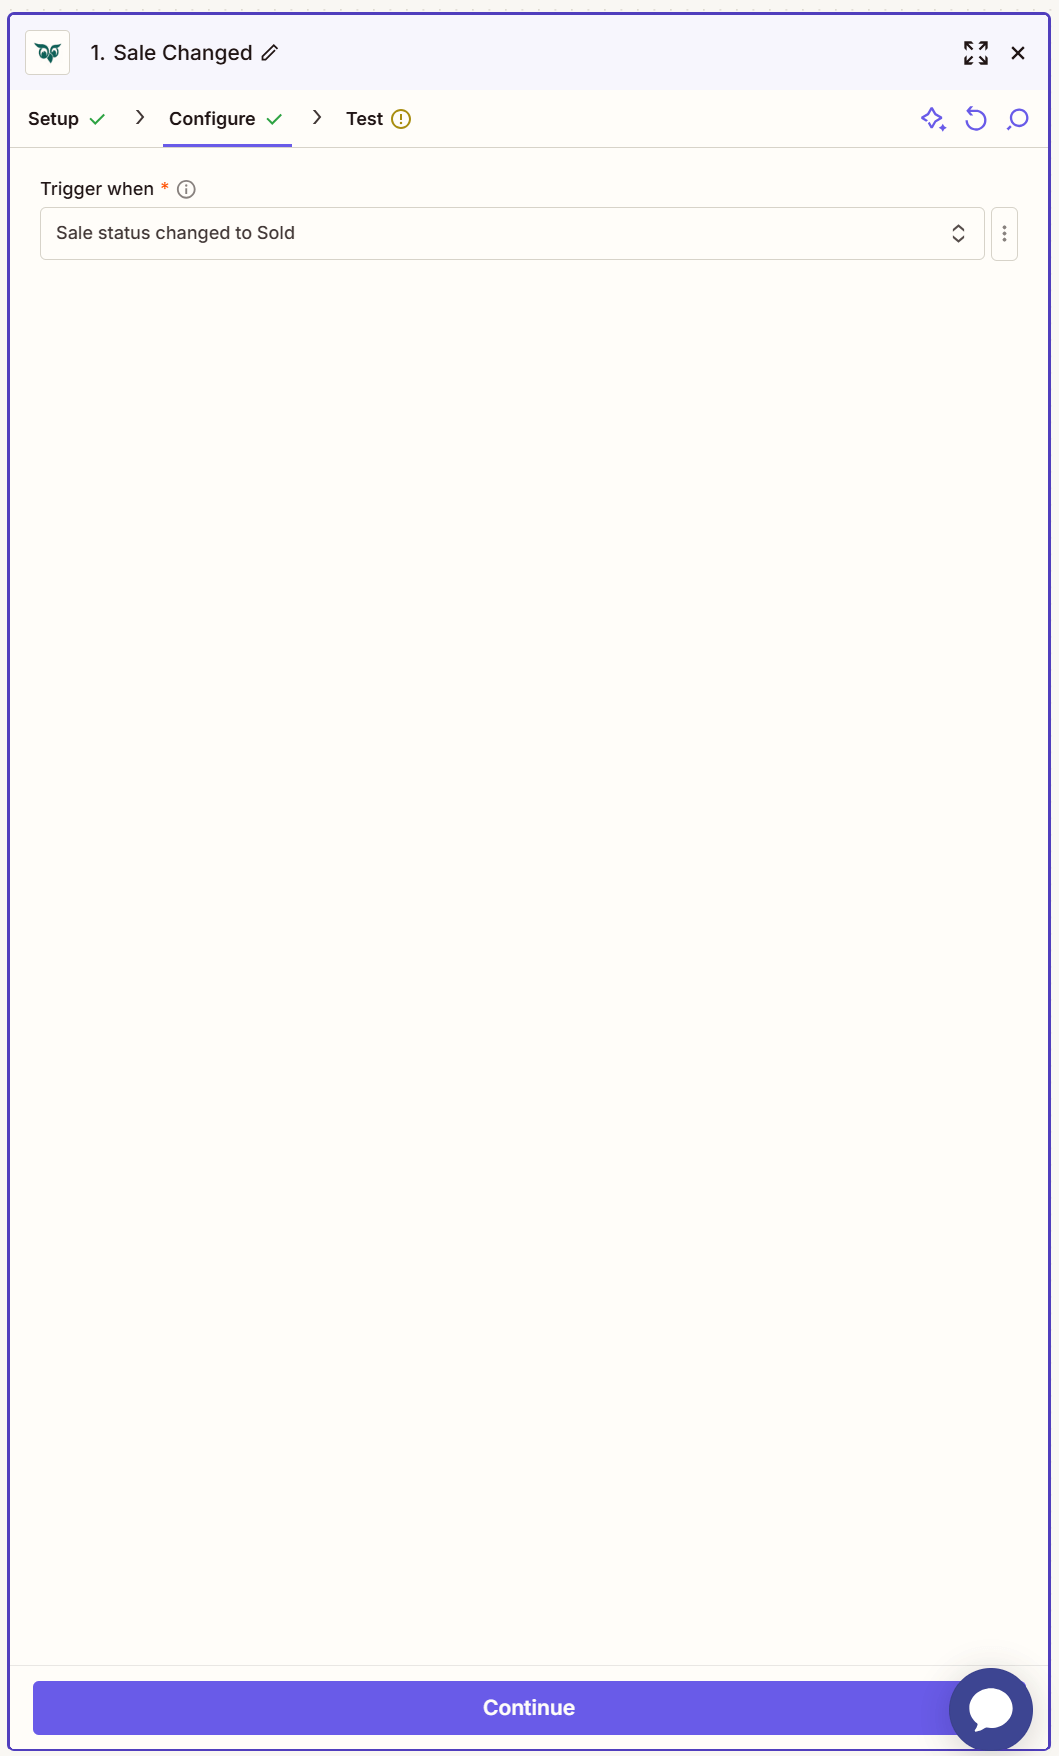
- Select Continue.
-
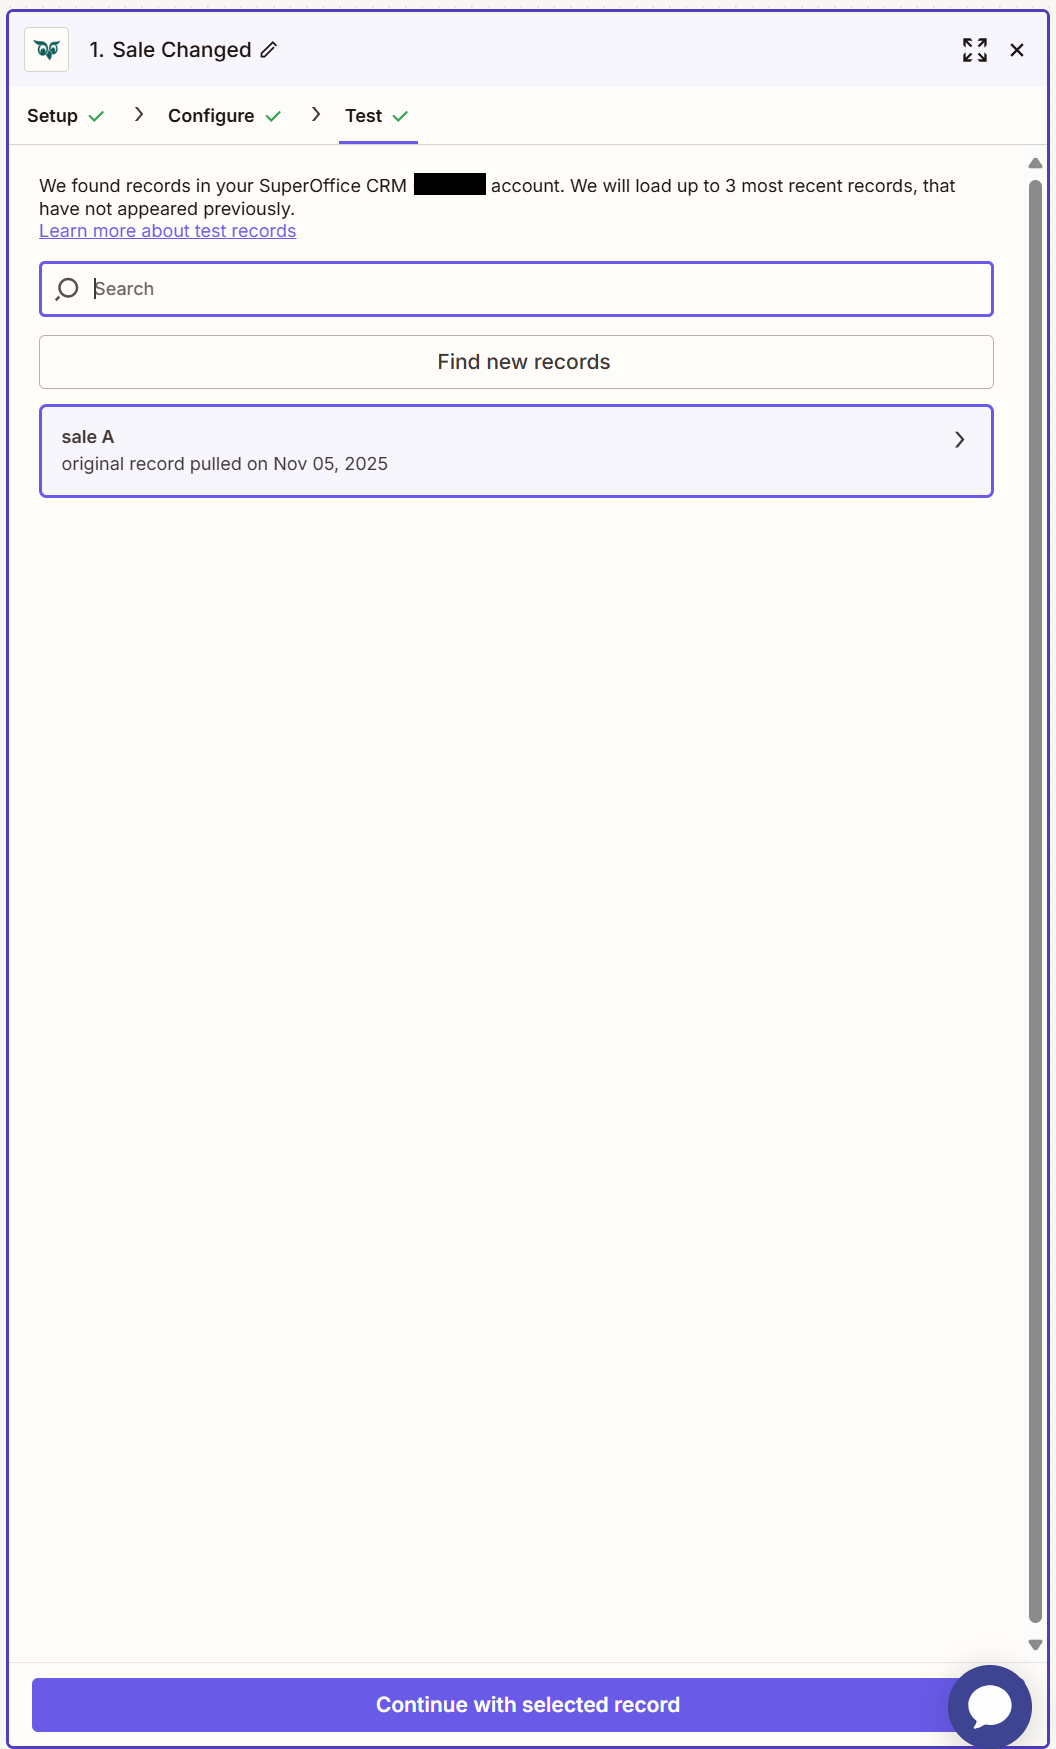
Review the selected record. Select the record entry to display additional information.
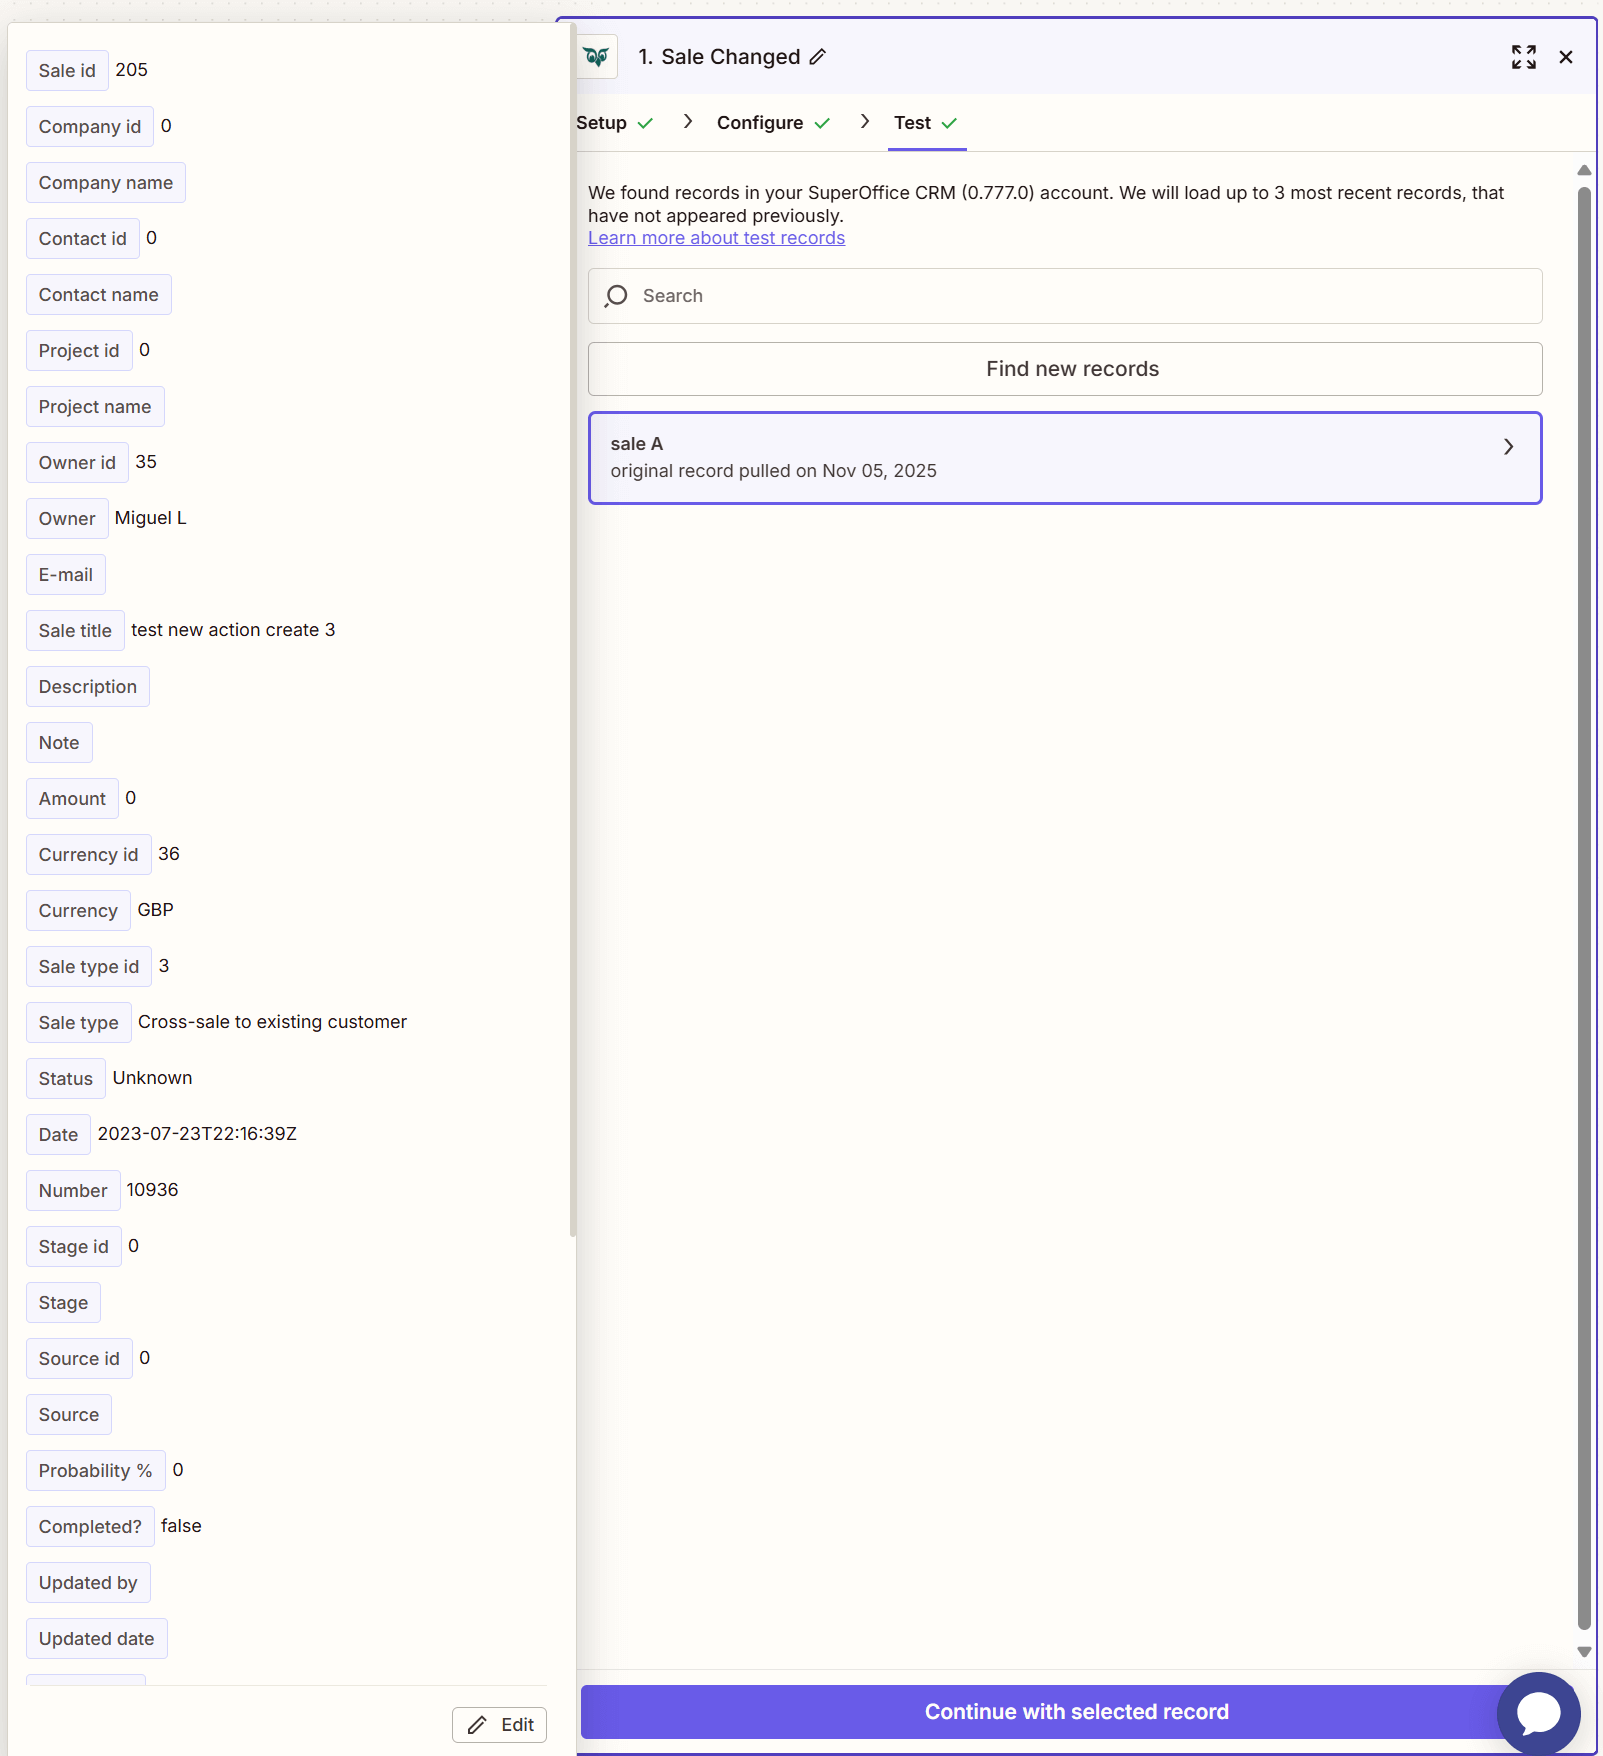
-
Continue by selecting Continue With selected record.
Define action
Select an Action step to determine where the updated sale data from SuperOffice CRM will be sent.