

Edited single file in browser
If you followed the instructions to edit a file on GitHub, you’ve already created the pull request. Wait for a notification from the reviewer. Then view and incorporate feedback on the pull request.Worked on a local branch
- If you worked on a branch from a clone, go directly to the public docs repo.
- If you worked on a fork, go to your forked GitHub repo on GitHub.com instead.
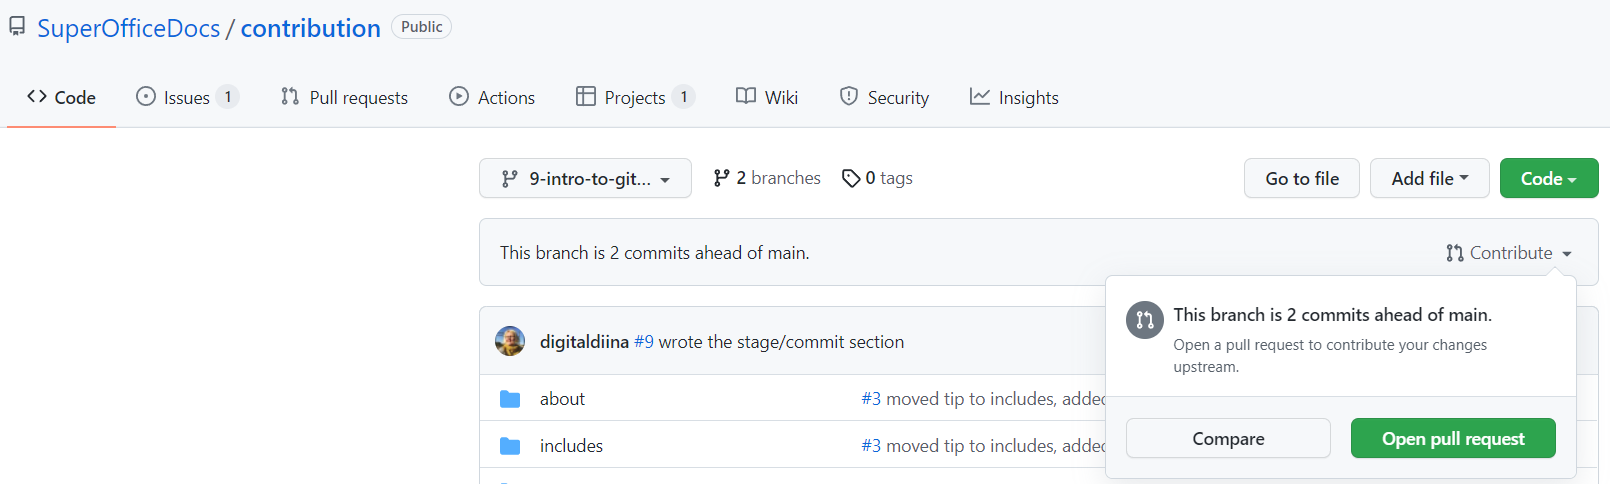
- Go to the repo on GitHub.com. GitHub should detect the updated code and prompt you to make a pull request.
-
Click the Compare and create pull request button.
It might also look like this:
-
Fill in info such as title and description and select a reviewer.
In the description or comments section be sure to include the text “Resolves
#[INSERT ISSUE NUMBER HERE]” where your previously created issue number is associated with this pull request.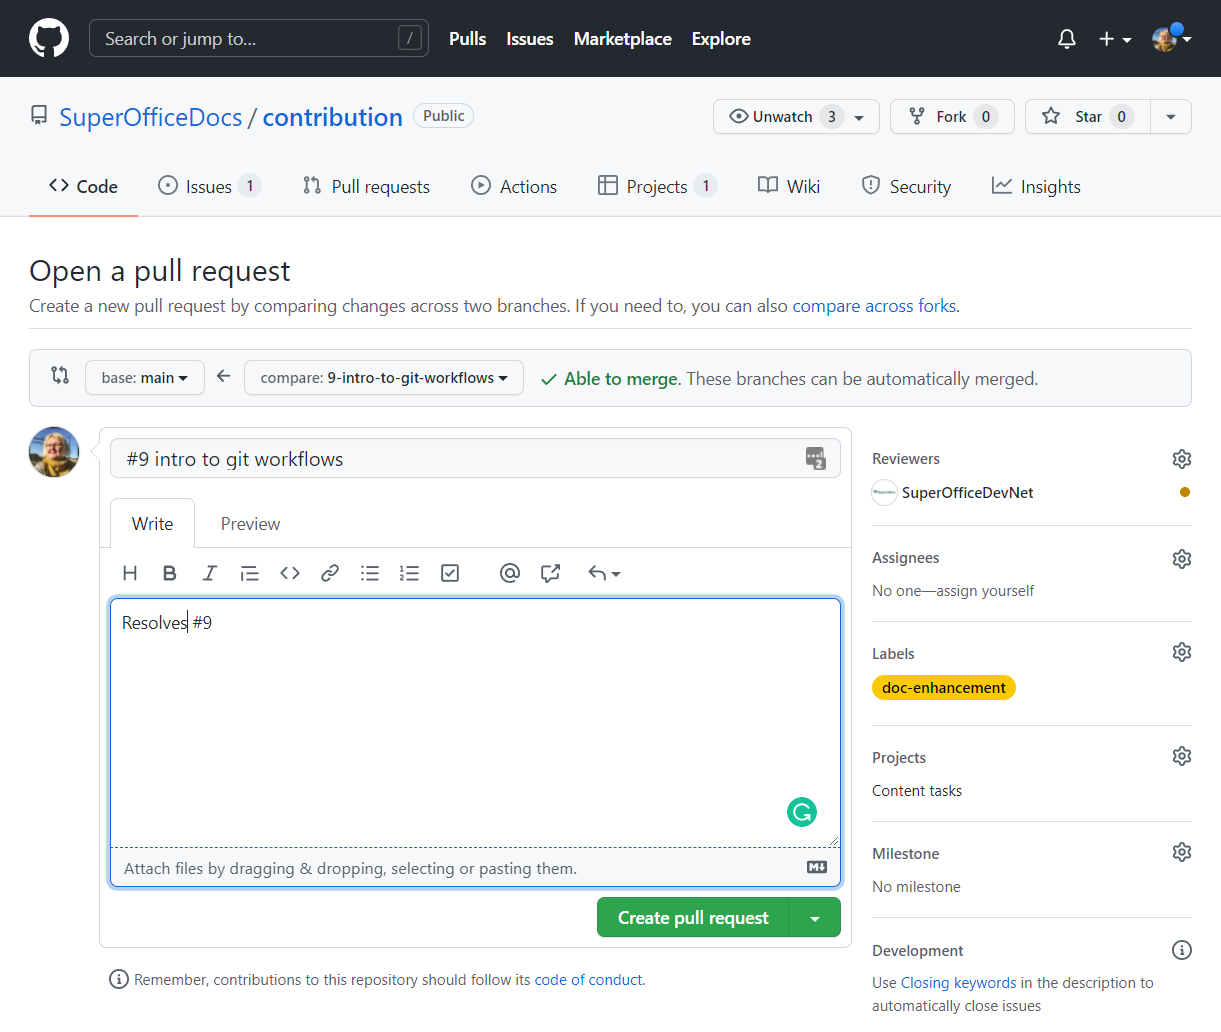
There are extensions for creating PRs directly from VS Code, however, authentication (especially with enterprise accounts) is not trivial. Creating PRs on GitHub is strongly recommended.
What happens now?
- Follow the discussion in the Conversation tab.
- Look for GitHub notifications on the PR and be prepared to implement the requested changes (if any).
- A preview link normally appears automatically as a bot comment within moments of your push. If you worked from a fork, it will not - see Manual (custom) previews to request one, and batch your changes into a draft PR first rather than requesting a fresh preview after every small fix.