Lead Agent is coming soon. This page describes a feature that is not generally available yet. It requires CRM Suite Plus or above.
Before you begin
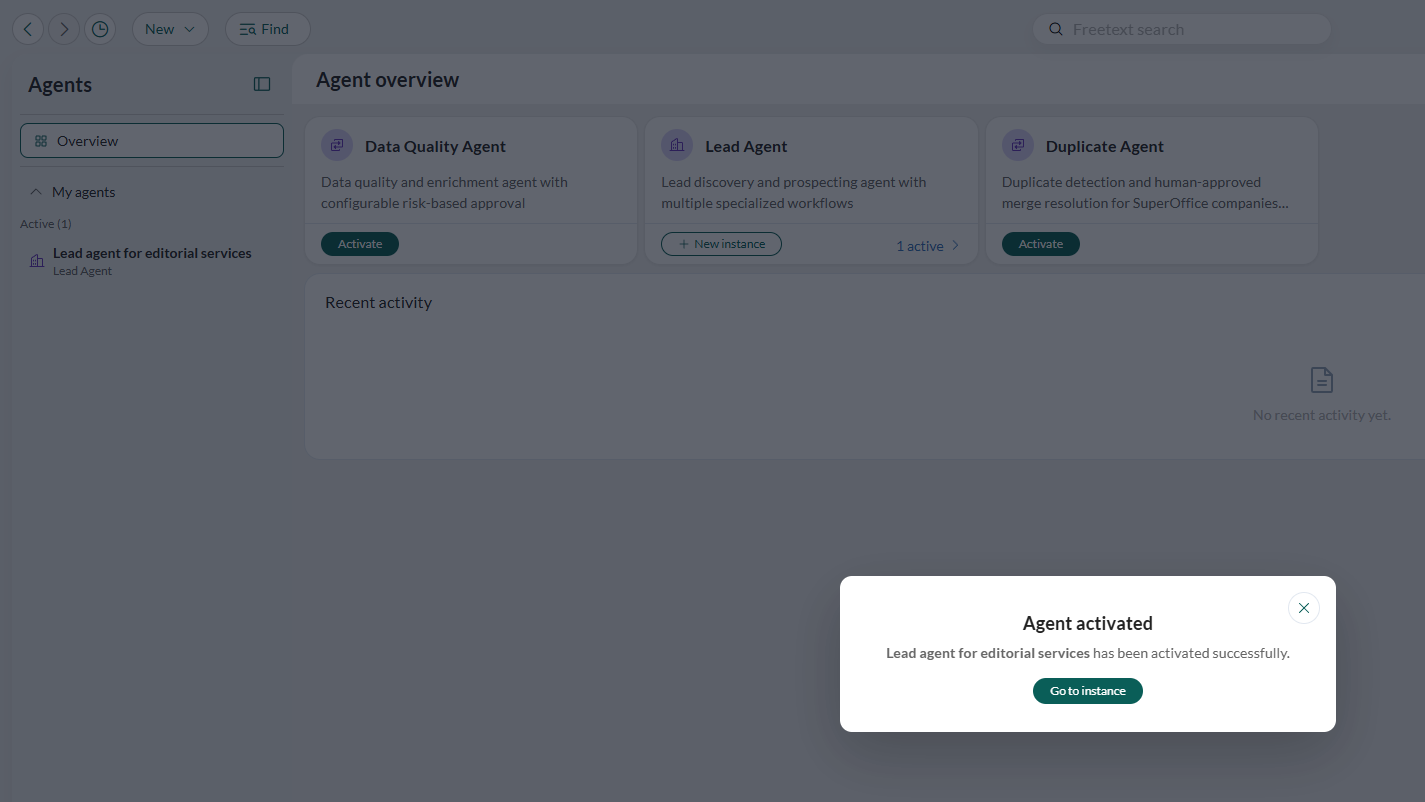
If you have not yet activated the Lead Agent, you need to do so first.- Select Agents in the Navigator. The first time you access the Agents page, you need to log in and approve AI agents in SuperOffice.
- Select Browse agents in the upper-right corner of the Agents overview and select Lead Agent.
- Select Activate. This opens the set-up wizard.
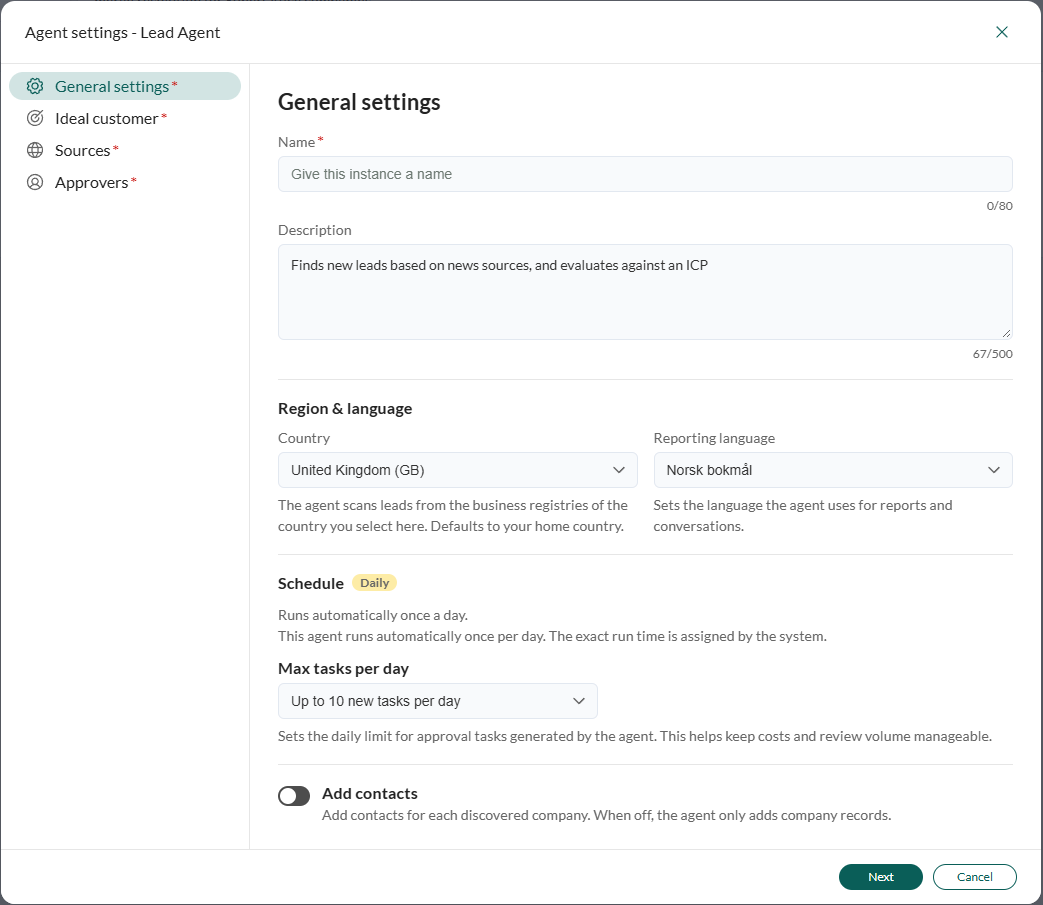
General settings
- Enter a unique Name for the agent instance. This cannot be changed after activation.
- Optionally, edit the suggested Description if you want something different.
-
Choose Country and Reporting language:
- The values are pre-filled based on your organization’s home country. Customize to meet your needs.
- Country determines which registries the agent searches and which country it scans by default.
- Language affects both reports and chat replies.
Your ideal customer profile’s location wins over Country. The Country you pick is only a default. For example, selecting Germany but naming France in your profile (next step) makes the agent search French registries and scan French leads. - Select how many approval tasks the agent creates per day (1-30). The default Max tasks per day is 10.
- Optionally, enable Add contacts. When on, the agent also finds contact persons for each lead, with email and phone details. When off, it works at company level only.
- Select Next.
Ideal customer
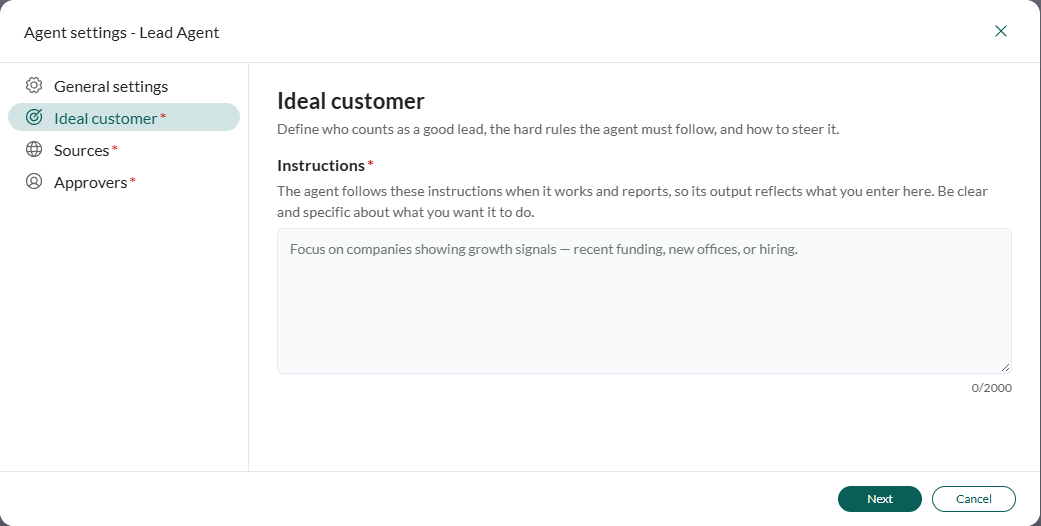
This defines what counts as a good lead and how the agent should behave. Cover what matters, such as industry, size, and region, plus disqualifiers such as “not public sector”.- In plain language, describe the customers you want and how the agent should work. Be specific, for example: Focus on companies showing growth signals, such as recent funding, new offices, or hiring.
- Select Next.
Sources
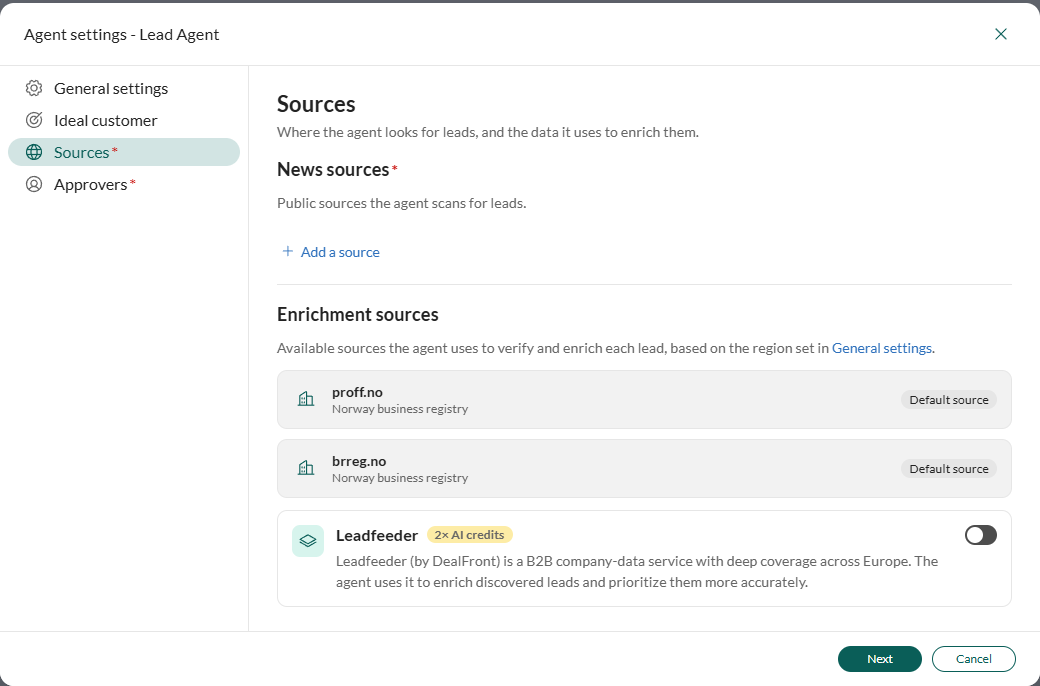
- News sources: public sources the agent scans for buying signals.
- Enrichment sources: used to verify and enrich each lead. Built-in sources are business registries selected based on your country, for example, Brønnøysundregistret for Norway or Northdata for Germany.
-
Add relevant news sources:
- Select Add a source.
- Provide a label and web address.
- Select Add source.
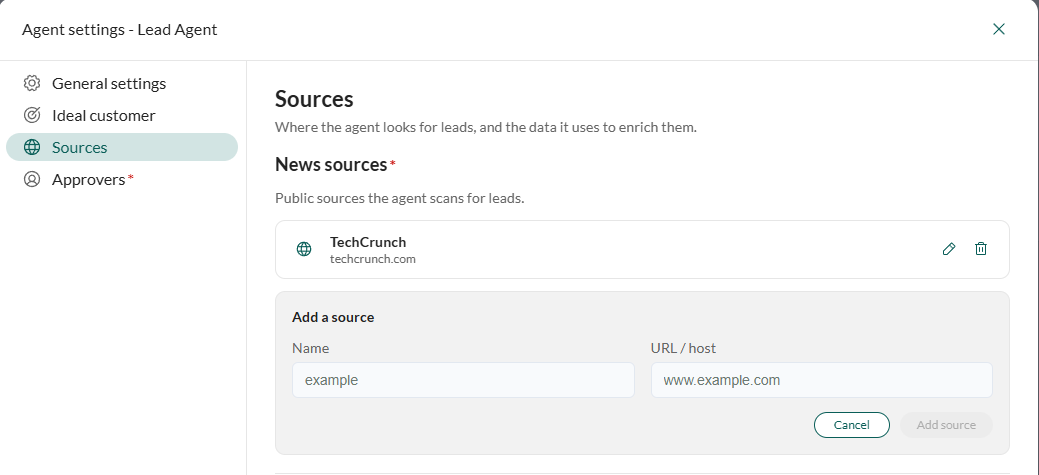
- Choose whether to use Leadfeeder to enrich and prioritize discovered leads, or rely on web scraping alone. On by default.
- Select Next.
Approvers
Choose who reviews and approves the leads this agent finds. Approving a lead makes that person its owner. For the Lead Agent, the approver can be someone other than the instance owner. How leads are shared between approvers depends on how many you add:- One approver: every lead goes to that person, and the sharing setting is deactivated.
- Two or more approvers, or a group:
- First come, first served: the first person to act owns the lead, and it clears from the others’ queue.
- Round-robin: each new lead goes to the next approver in turn.
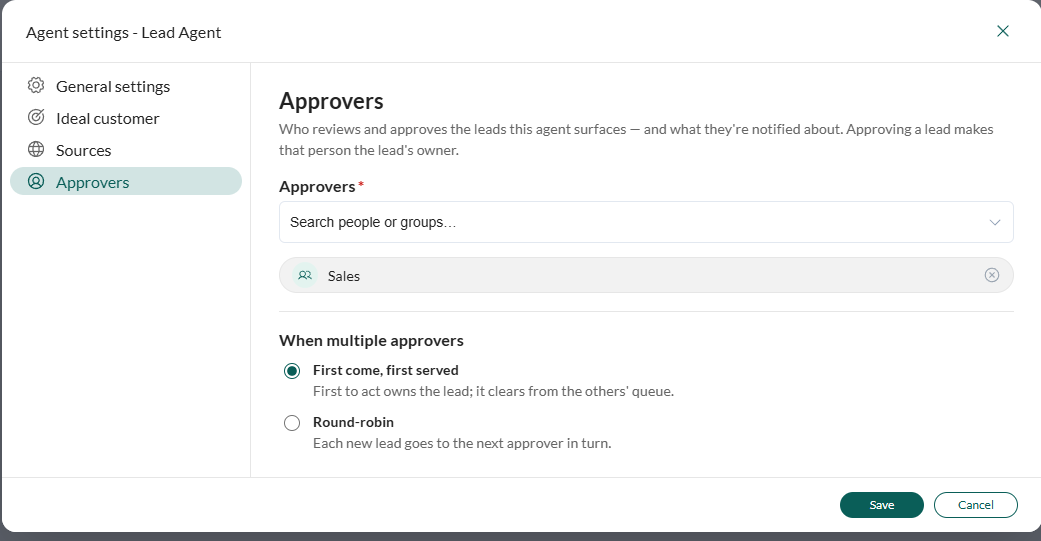
Save
- Verify that the name and multiple-approvers choice are what you want. This is your last chance to change these two settings.
- Select Save.
- Select Go to instance to open your new Lead Agent and get started.