SuperOffice’s AI agents are coming soon. This page describes set-up steps for a feature that is not generally available yet.
Agent instances
One configured, running copy of an agent is called an instance. Some agents allow more than one: Lead Agent allows up to 3. Others, such as the Data Quality Agent and Duplicate Agent, allow only 1 instance per user. The limit counts inactive instances too: deactivating one does not free a slot, only deleting it does.Requirements
- Your organization must be on CRM Suite Plus or above.
- An administrator must enable AI functions in CRM global preferences before the Agents icon appears.
Agent instances themselves are personal, per user. You do not need admin access or Settings and maintenance to create or manage one.
Activate agent
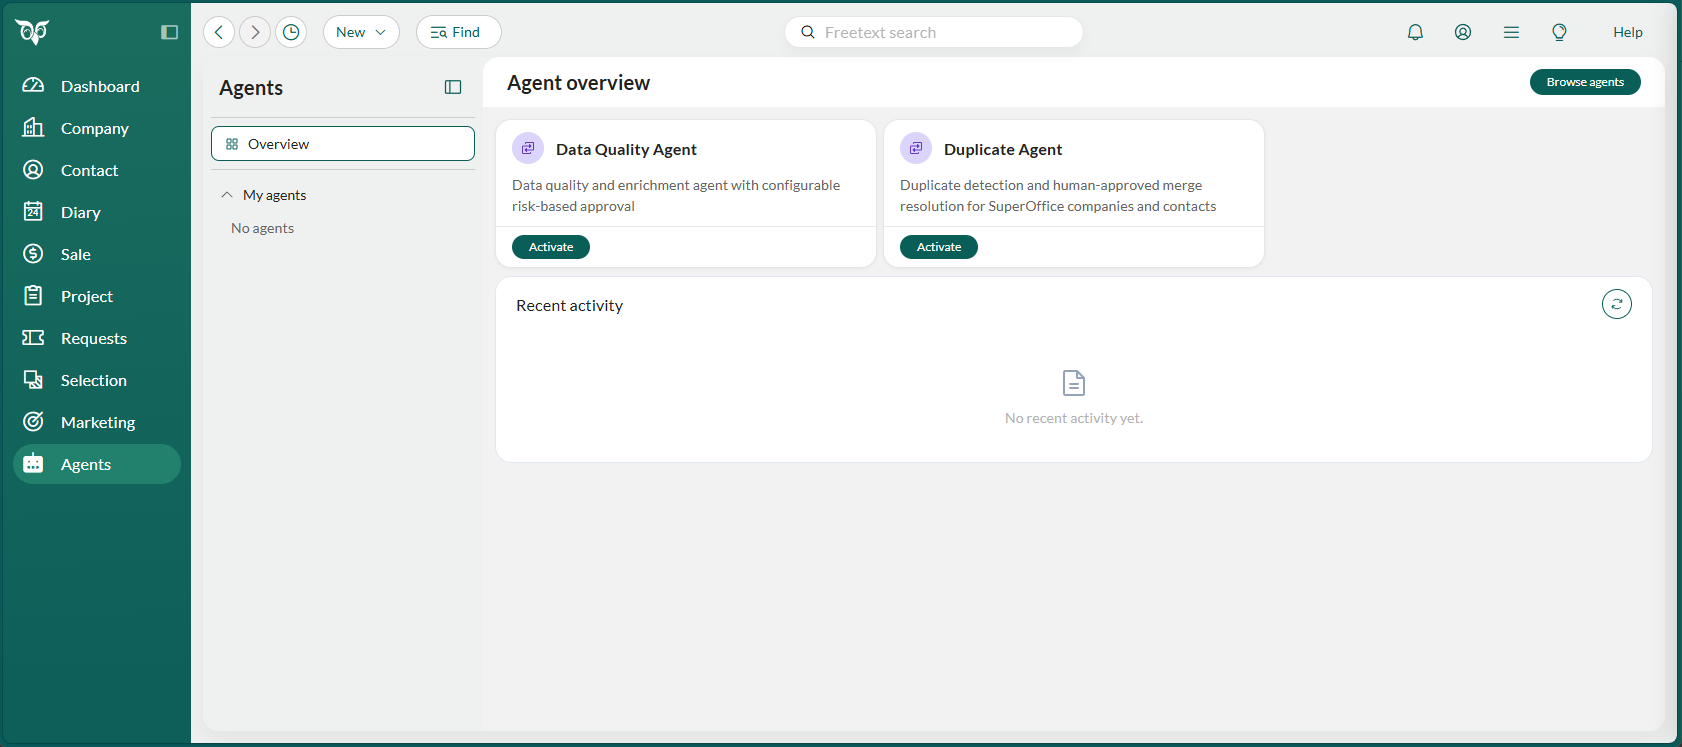
- Select Agents in the Navigator.
- Select Browse agents in the upper-right corner of the Agents overview.
-
Use the search box or the category filters to find the agent you want.
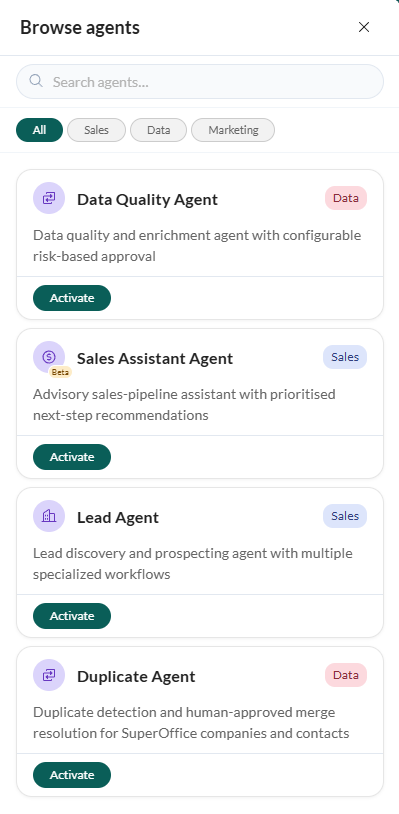
- Select Activate to open that agent’s set-up wizard and create your first instance.
Browse agents shows only agents included in your CRM Suite plan. If an agent you expect is not listed, contact your SuperOffice administrator or partner.
Add instance
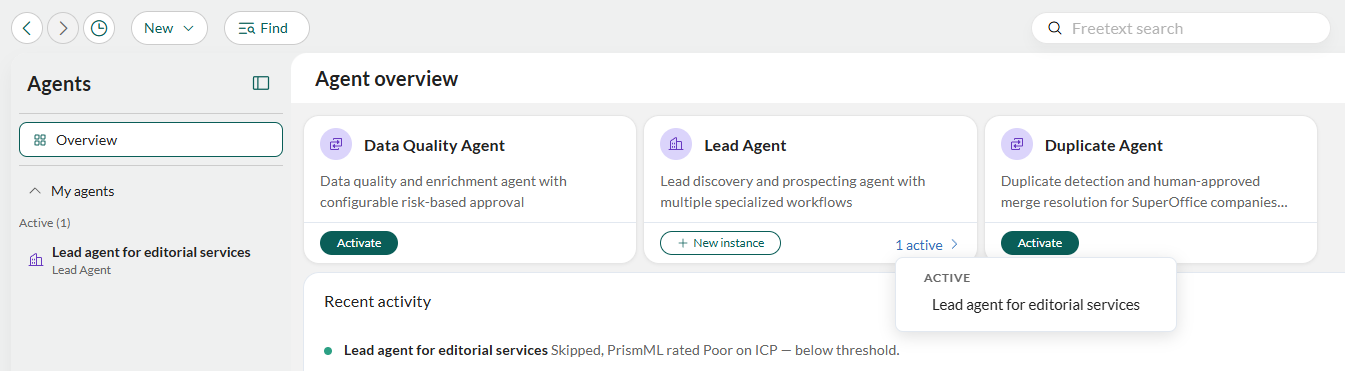
Agents that allow more than one instance show a + New instance button.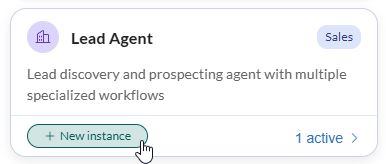
- Select + New instance on the agent card or in the Browse agents list.
- Complete the agent-specific set-up wizard.
View instance details
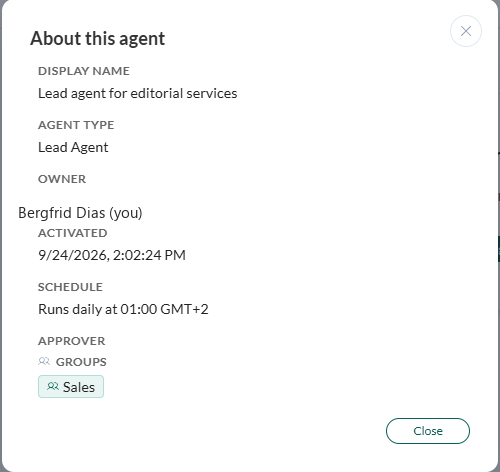
Select About from the three-dots menu for a read-only summary, including display name, agent type, owner, activation date, schedule, and approvers.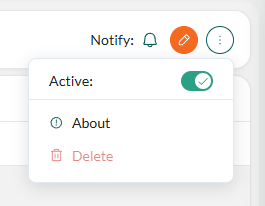
Edit settings
- Select the edit (pencil) button in the instance header.
- Make your changes in the set-up wizard.
- Select Save changes. Changes apply from the next run.
Mute notifications
Every user with access to the instance has their own Notify bell toggle. Muting only affects that person. The instance keeps running for everyone else.- Select the bell icon.
- Select Mute notifications.
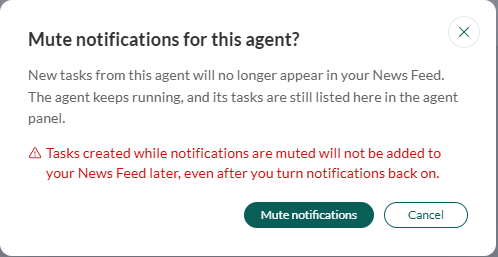 Select to turn notifications back on.
Deactivate an instance
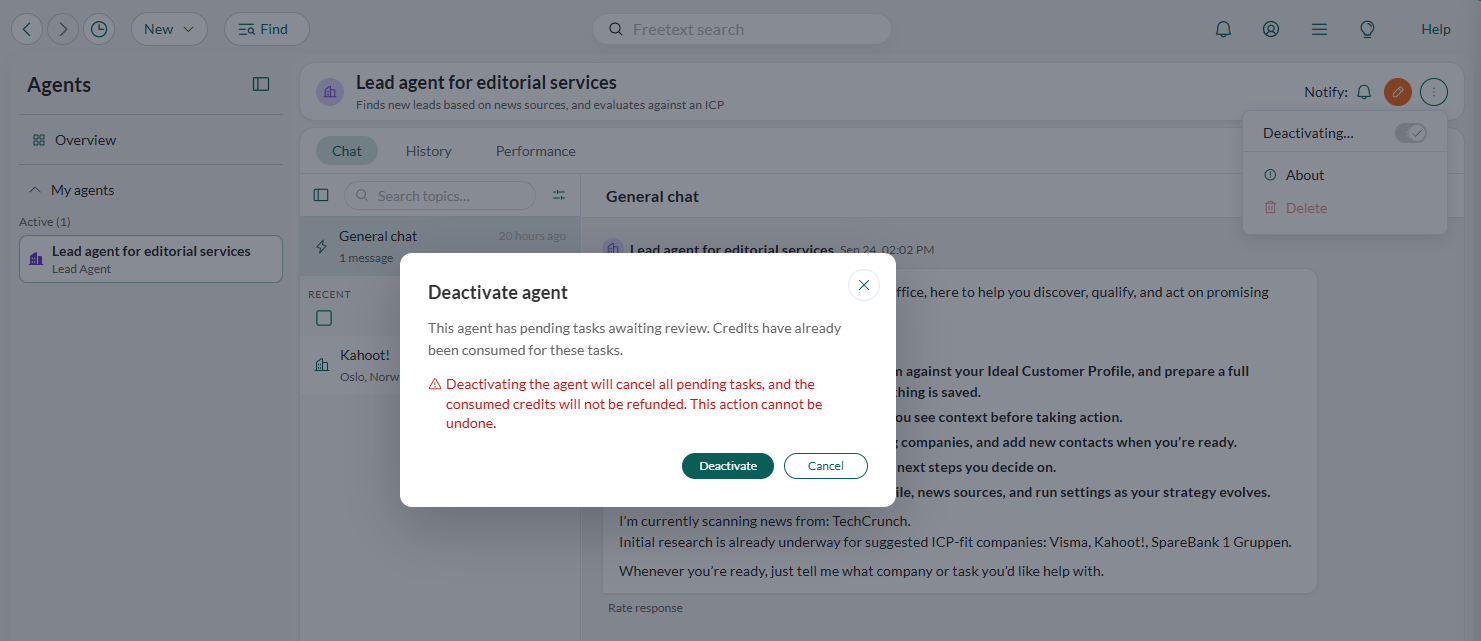
- Select the Task menu ().
- Select the Active toggle.
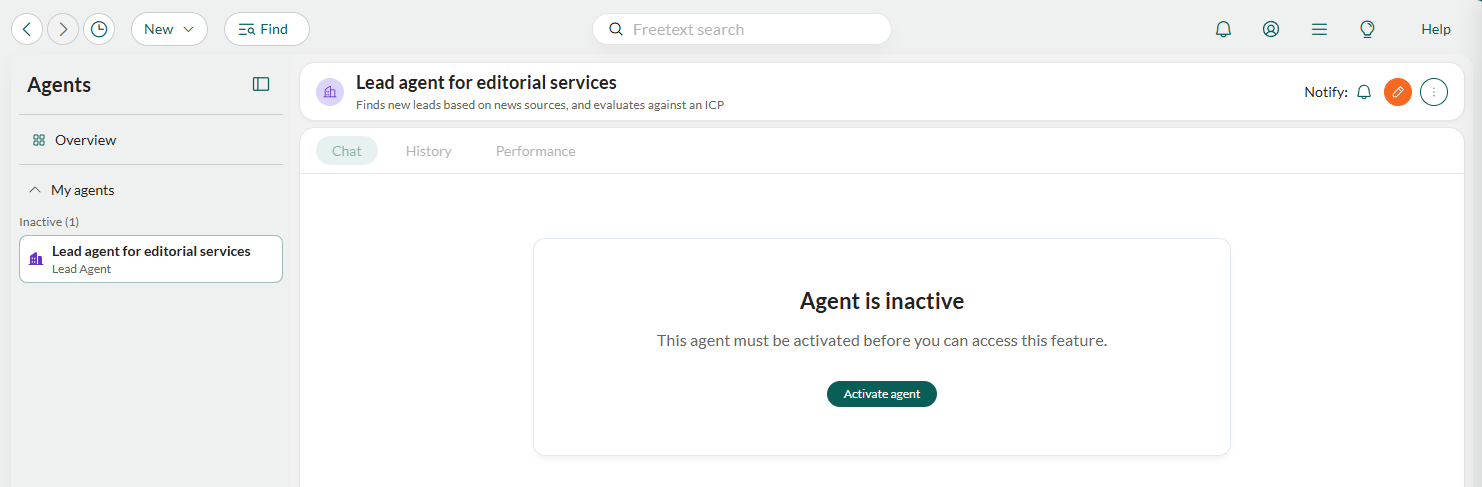
- Select Deactivate.
Delete an instance
Deleting an instance is permanent and removes all its data.
- First, deactivate the instance.
- Select the three-dots menu and select Delete.
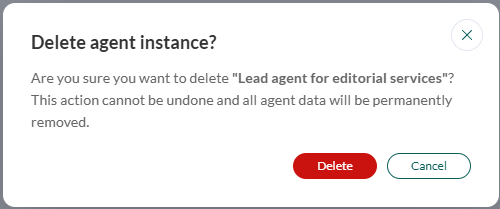
- Select Delete.