

- A Microsoft Entra admin account.
- Access to Microsoft Entra admin center with permissions to create an enterprise application of type non-gallery application - Microsoft Entra Premium (P1 or P2) required.
Sign in and add the application
- In a browser, sign in to the Microsoft Entra admin center.
- From the left pane, select Enterprise applications.
- Add your own application:
- Click + New application.
- Select All.
- Click Create your own application.
- Enter a name.
- Select Integrate any other application you don’t find in the gallery (Non-gallery).
- Click Add.
Turn on automatic provisioning from Microsoft Entra ID
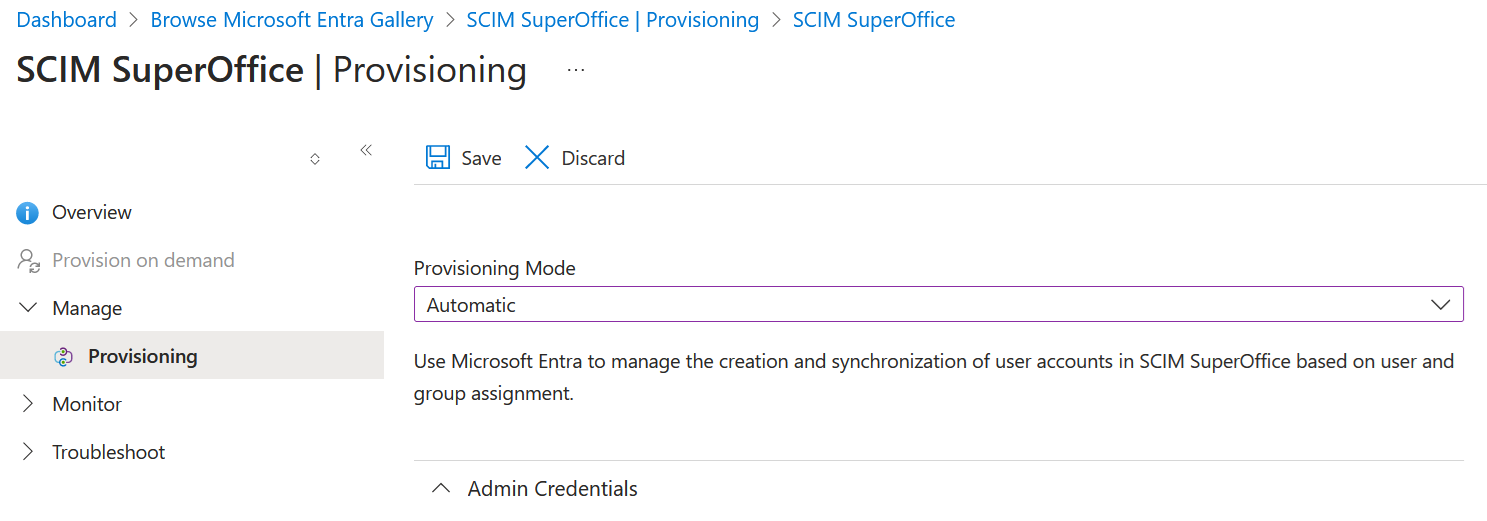
- Go to the app management screen and select Provisioning from the left pane.
-
Set Provisioning mode to Automatic.
Configure admin credentials
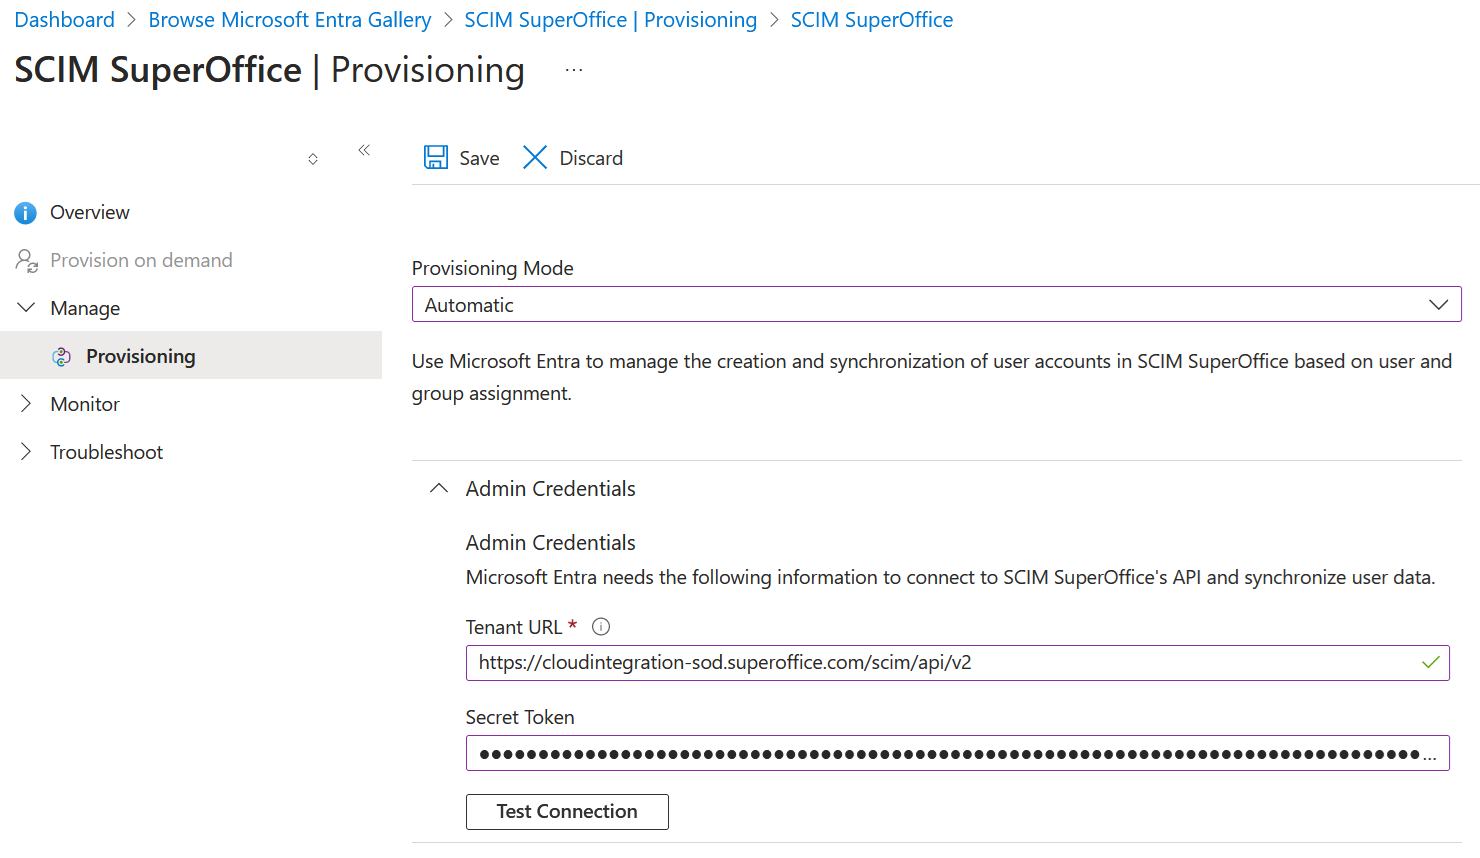
- Expand the Admin Credentials settings block.
- Get the SCIM config from the SuperOffice Identity Manager.
- Copy the URL into the Tenant URL field.
- Copy the Token into the Secret Token field.
- Click Test Connection and verify the connection between Microsoft Entra ID and the SuperOffice SCIM endpoint.
- Click Save.
Configure mapping
The Microsoft Entra portal allows mapping to theid attribute. However, this is not supported by SCIM and should not be used.
- Expand the Mappings settings block.
-
Customize the attribute mapping of
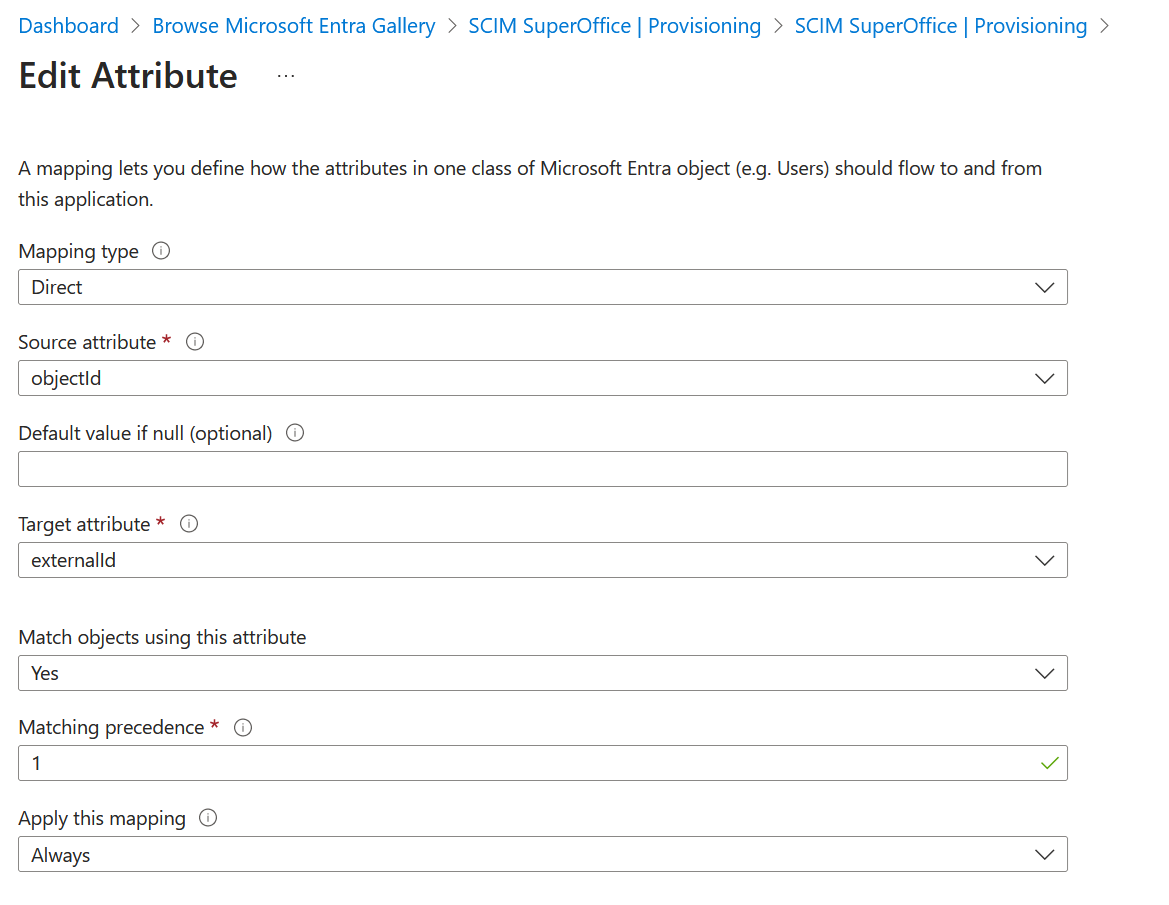
**externalId**for user objects:- Select the user attribute set.
- Change the default mapping of
**externalId**frommailNickNametoobjectId. - Enable the Match objects using this attribute option.
- Set Matching precedence to
2. - Click OK.
-
Change the attribute mapping for group objects to match on
objectIdrather thandisplayName:- Select the group attribute set.
- Select the
displayNameattribute, change Matching precedence value to2, and click OK. - Select the
objectIdattribute, enable the Match objects using this attribute option, set Matching precedence value to1, and click OK.

- Click Save.
Start 1st synchronization and verify the result
- Scroll down to Settings.
- Select scope - do you want to sync all or only assigned users and groups?
- Set Provisioning status to
On. - Click Save to start the synchronization.
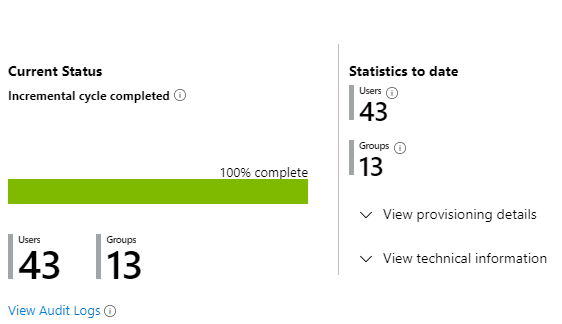
- Wait for the incremental cycle to complete.
- You can now preview the users in the SuperOffice Identity Manager.
Next steps
- Add SCIM rules to set up your mapping in SuperOffice.
- Subscribe to synchronization error messages.