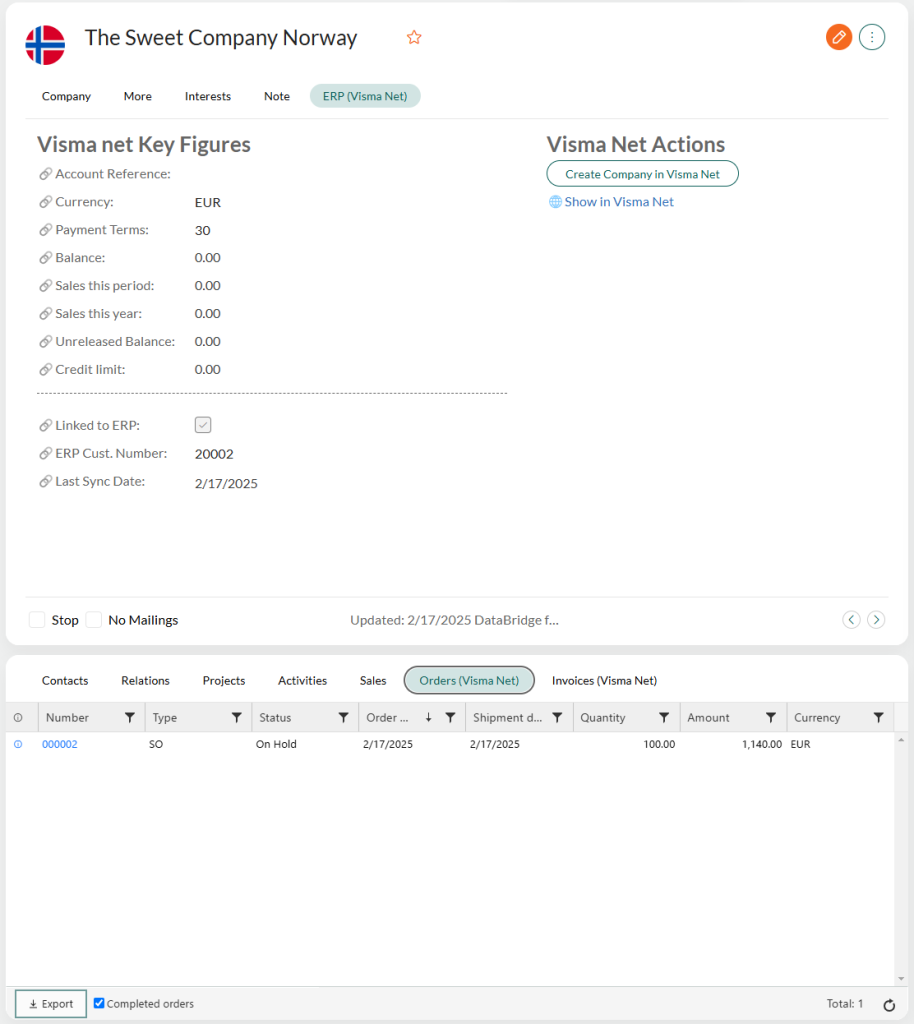
A ConnectERP subscription must be active for the SuperOffice tenant to have access to the Visma Net Financials panels.
Initial panel setup
- Go to Panels for SuperOffice and sign up.
- Configure your timezone settings.
- Accept the terms and privacy documentation.
- Complete the registration to gain access to the panel configuration.
Adding the Invoices panel
- Click New panel.
- Enter the label Invoices (Visma Net).
- Select the Visma Net Financials Invoice panel template.
- Set Company user-defined: ERP Cust. Number as the identifier field.
- Authorize the connection to Visma Net and accept the terms.
- Click Publish.
Adding the Orders panel
- Click New panel.
- Enter the label Orders (Visma Net).
- Select the Visma Net Financials Order panel template.
- Set Company user-defined: ERP Cust. Number as the identifier field.
- Authorize the connection to Visma Net and accept the terms.
- Click Publish.
Adding the Order History panel
- Click New panel.
- Enter the label Order History (Visma Net).
- Select the Visma Net Financials Order History panel template.
- Set Company user-defined: ERP Cust. Number as the identifier field.
- Authorize the connection to Visma Net and accept the terms.
- Click Publish.