

1. Create user-defined fields on the Company card
Go to Settings and maintenance > Fields > Company > Add and create the following fields. Set all fields to Read only.Use the exact Prog IDs as specified. DataBridge and the CRMScripts rely on these identifiers to read and write the correct fields.
After adding all fields, click Publish.
2. Create the company selection
DataBridge uses this selection as its “field template” for the integrations.- Return to SuperOffice CRM: click the Main menu () and select SuperOffice CRM.
- Click New > Selection to create a selection.
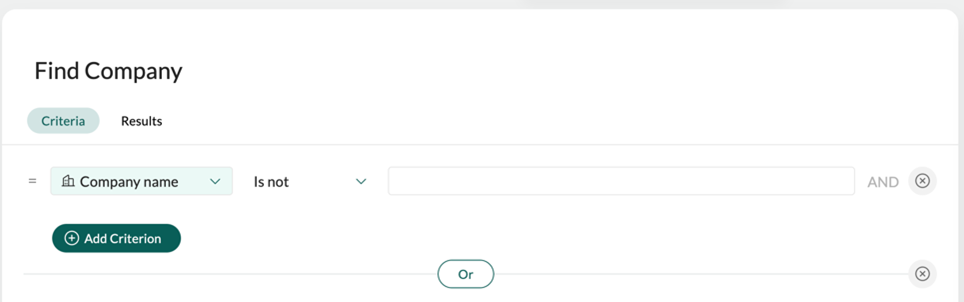
- Select Find Company.
- Add a criterion with Company name as the field, Is not as the operator, and a single space character as the value.
- Run the search and confirm that at least one result appears. An empty selection may cause DataBridge to fail when the integration runs.
- Save as a dynamic selection with the name DB – Template: Companies.
3. Add the Company CRMScript
The CRMScript allows users to manually push a company from SuperOffice to Visma Net.- Download and unzip crmscripts-visma-net.zip from the Downloads section in Requirements.
- Go to Settings and maintenance > CRMScript > New script.
- Open the Company to Visma Net .txt file and paste the content into the script editor.
-
Set the configuration variables at the top of the script:
- Save the script.
4. Create the Company card screen layouts
Create two screen layouts in SuperOffice: one for standard users (read-only ERP data) and one for admin users (with action button).Standard layout
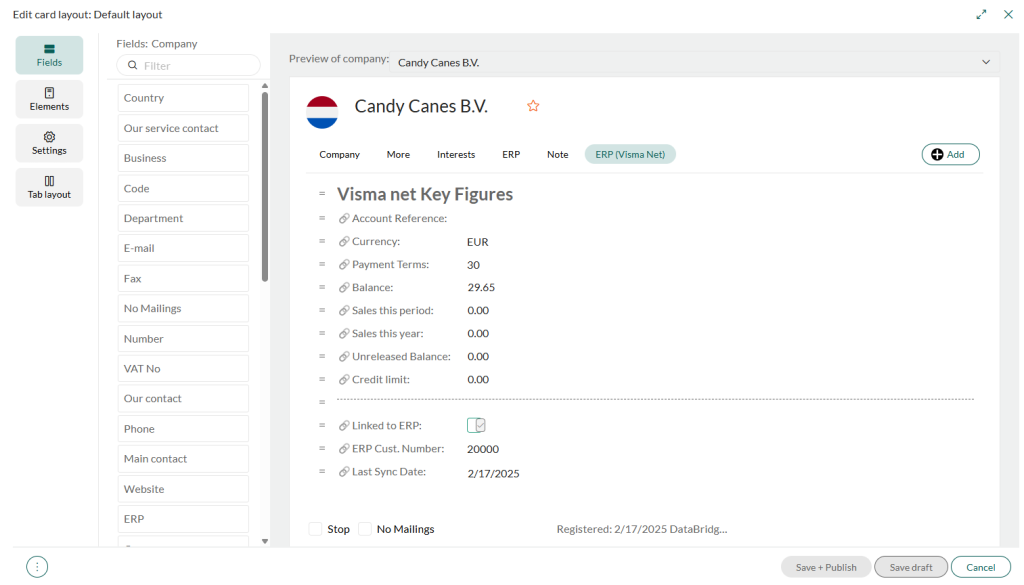
- Go to Settings and maintenance > Screen designer > Company.
- Create a new layout for all users.
- Add a new tab with the label ERP (Visma Net).
- Add a panel Visma Net Key Figures and add all 11 ERP user-defined fields.
- Save and publish the layout.
Admin layout
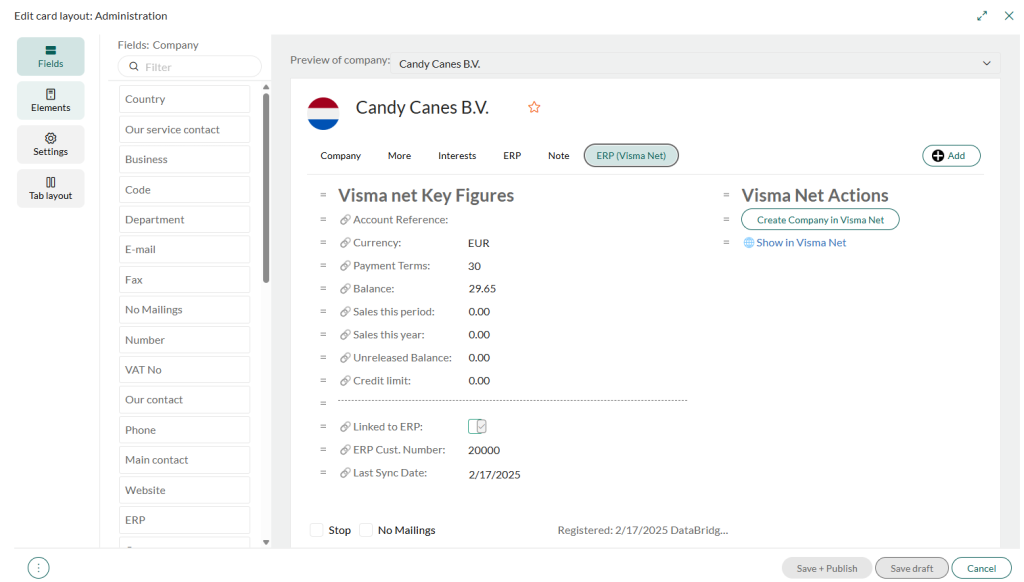
- Create a second layout for users with edit rights.
- Add a new tab ERP (Visma Net) with two columns.
- In the first column, add a button executing the Company to Visma Net CRMScript, labeled Create Company in Visma Net.
- In the second column, add a URL link to the corresponding Visma Net customer screen.
- Add the ERP fields below the button area.
- Save and publish the layout.
5. Import the company sync integrations
Download and unzip databridge-integrations-visma-net.zip from the Downloads section in Requirements.Warnings can appear during import (yellow background). The warning that not all required fields are configured is expected, and you can continue the import. For any other warning, read the message and follow its instructions before you continue.

Integration 1: Visma Net Customer Sync (Button)
This integration is triggered manually when a user clicks Create Company in Visma Net.- In DataBridge, import the corresponding .ndb file.
-
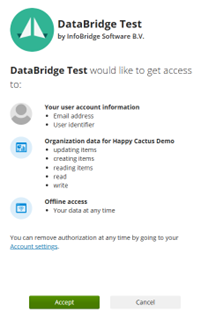
Connect to Visma Net when prompted and authorize the connection.
- In the Source tab, select the DB – Template: Companies selection as the data source.
- In the Data tab, update the values in the transformations Visma - Customer Class and Visma - Tax Zones.
- Check that the values in all other transformations match the SuperOffice and Visma Net setup.
- If you created the SuperOffice Number attribute in Set up Visma Net, check that the field mapping includes EXTNUMBER, so that the SuperOffice company number is written to the customer in Visma Net.
- After saving, copy the Instant Job URL. You’ll need it in Add the Instant Job URL to the CRMScript.
Integration 2: Visma Net Customer Sync (Hourly)
This integration runs automatically every hour to pull updated customer data from Visma Net into SuperOffice.- Import the .ndb file.
- Connect to Visma Net.
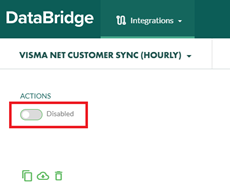
- After saving, disable the integration immediately to prevent it from running before setup is complete. You’ll enable it in Verify and finalize.
6. Add the Instant Job URL to the CRMScript
- Go to Settings and maintenance > CRMScript.
- Open the Company to Visma Net script.
- Set the
instantJobUrlvariable to the URL you copied from Visma Net Customer Sync (Button). - Save.