

Overview
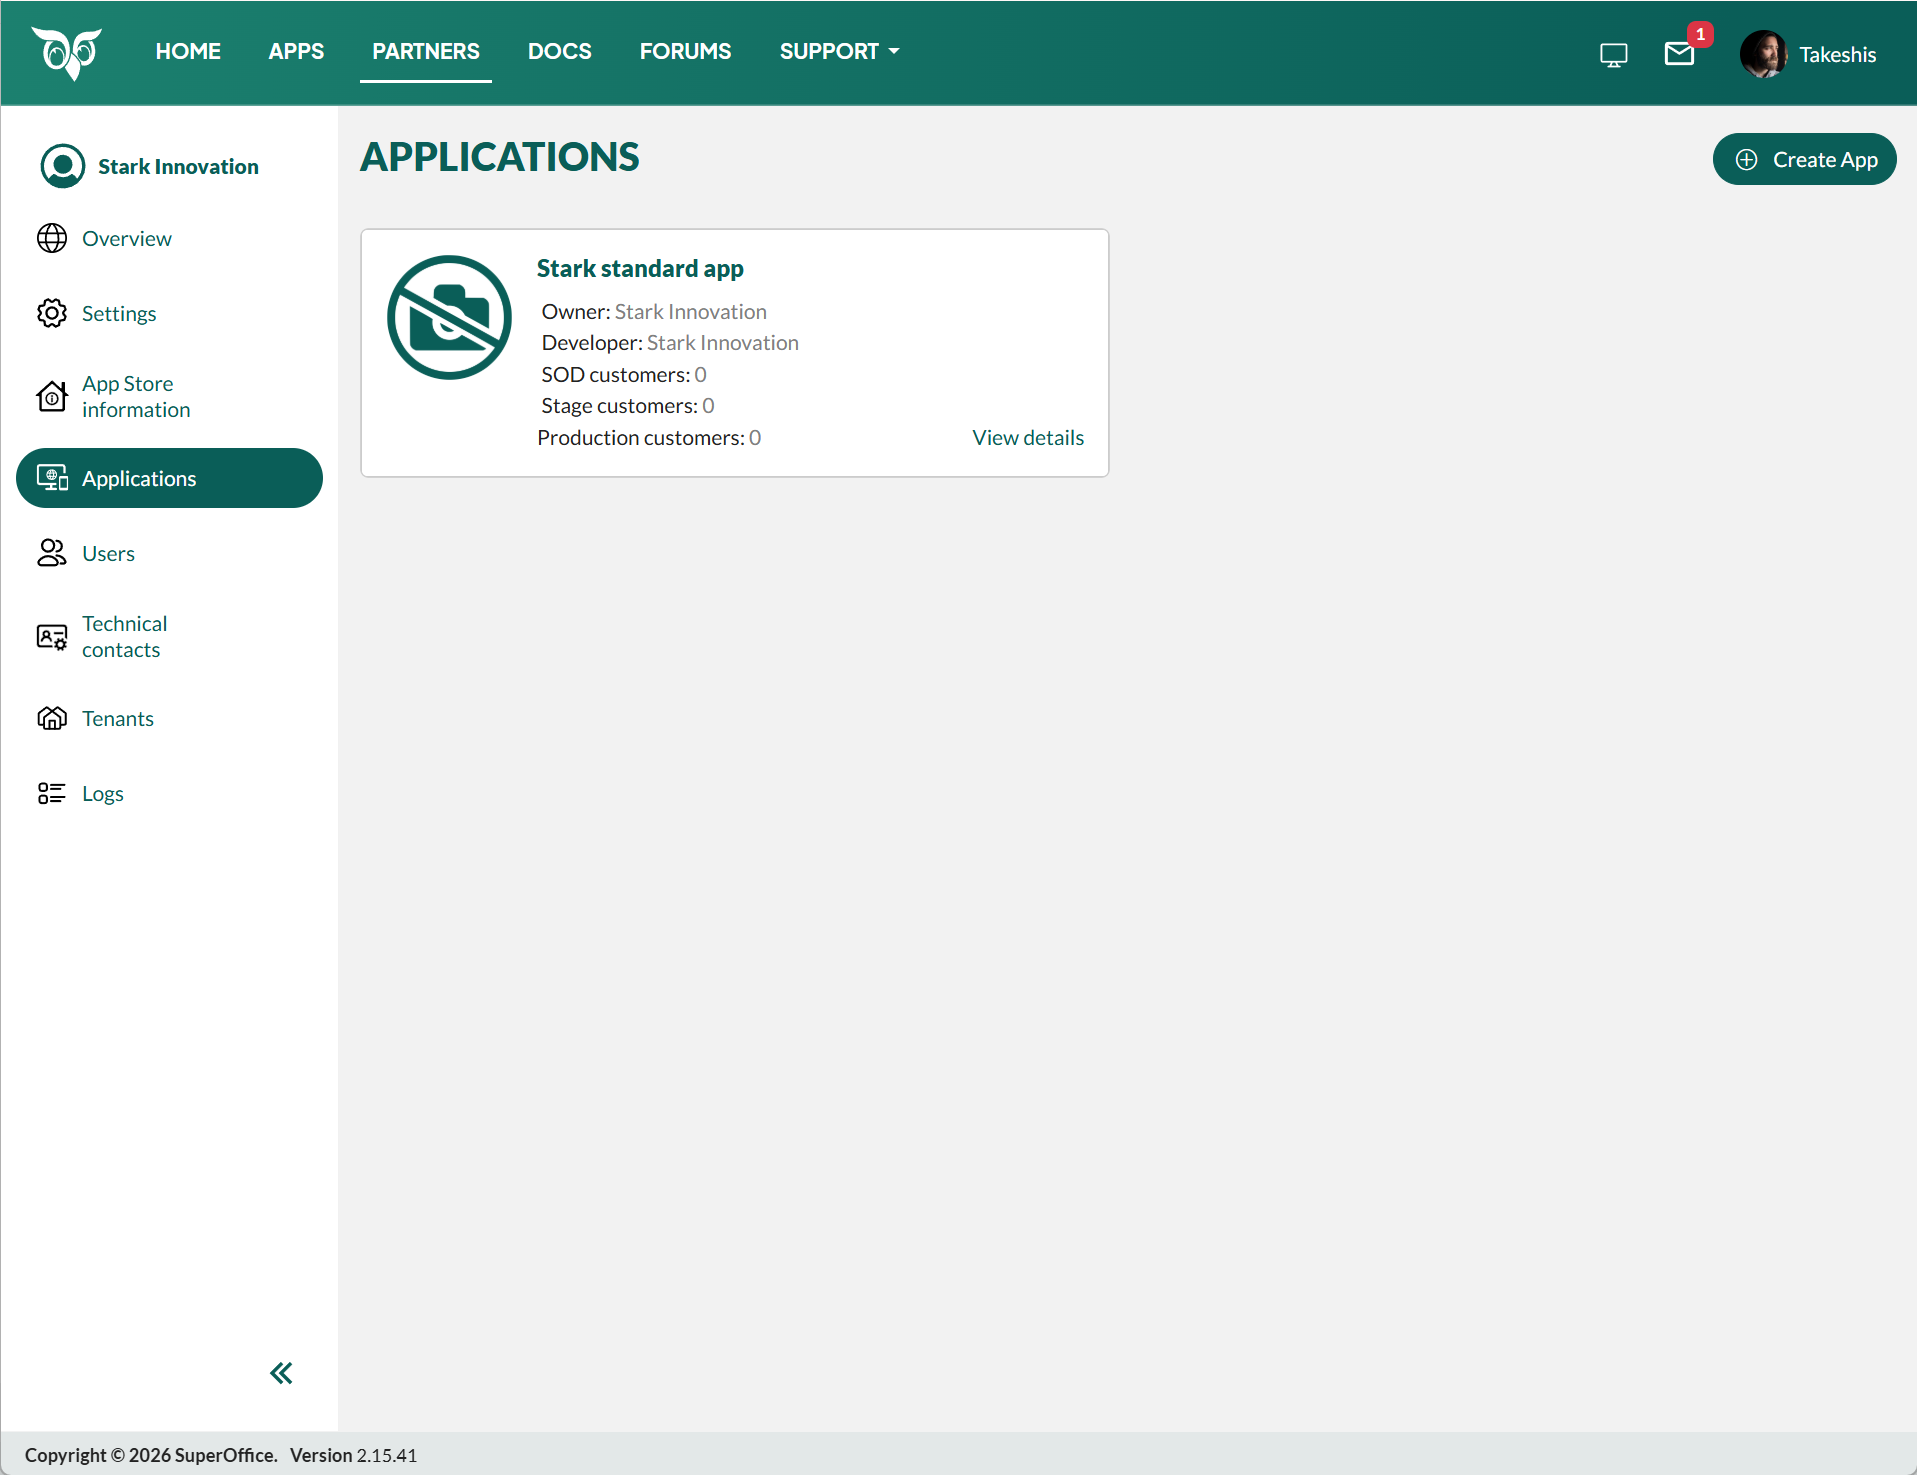
- In the Developer Portal, go to your partner page and select Applications in the left menu.
- Click Create App.
-
Choose a template and whether this is a custom or standard app. Click Next.
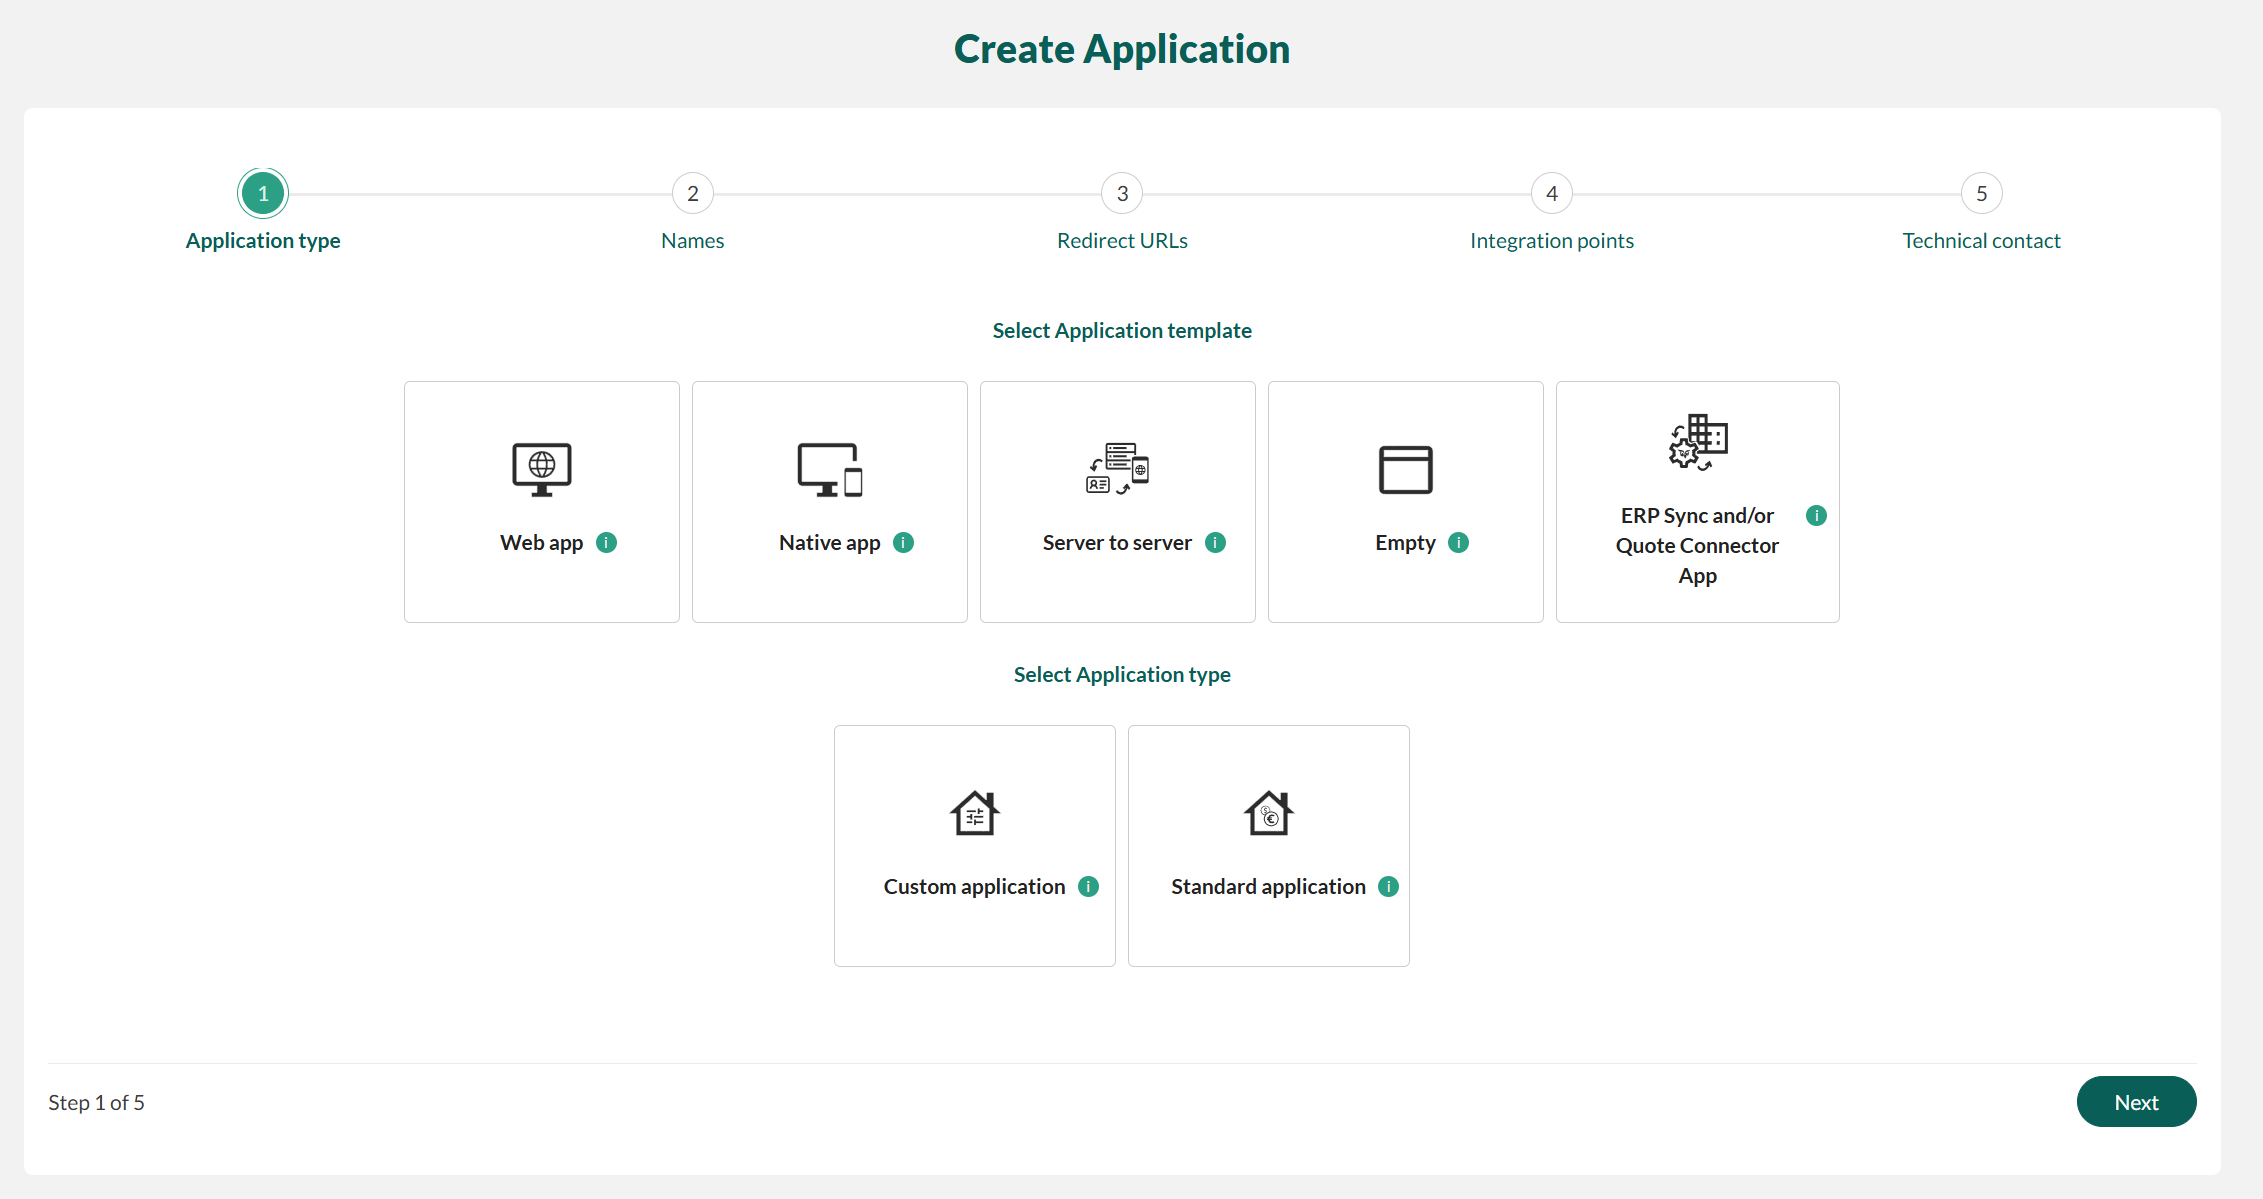 The template sets some default values and determines what you have to specify in the next steps. This is only a starting point for the app configuration. You can add more features after completing the wizard. For example, if you chose “Standard ERP sync and quote app”, it can also be a native app with server-to-server communication.
A message appears if your choice requires a specific license in production.
The template sets some default values and determines what you have to specify in the next steps. This is only a starting point for the app configuration. You can add more features after completing the wizard. For example, if you chose “Standard ERP sync and quote app”, it can also be a native app with server-to-server communication.
A message appears if your choice requires a specific license in production.
-
Enter the name of your application. Click Next.
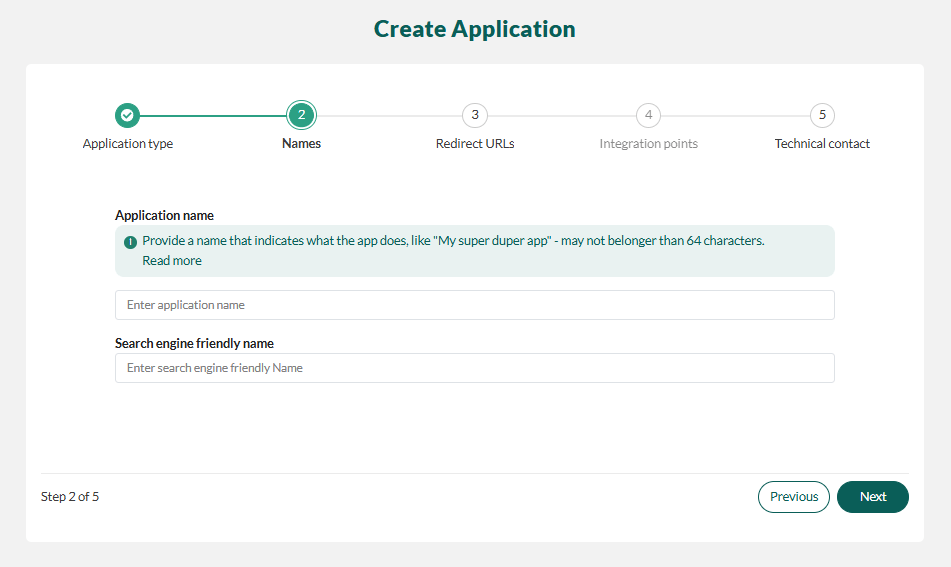 The application name must be 64 characters or less and not contain restricted characters.Give the app a descriptive name. Standard apps that will be published in our app store have conventions for phrasing.Find out the details.
 -
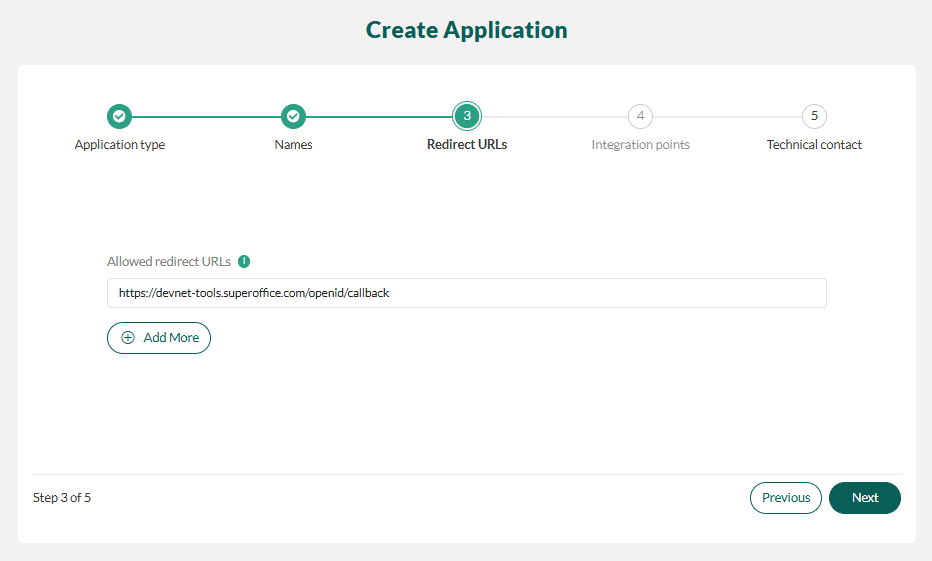
Enter a redirect URL. Optionally, click Add More to enter additional URLs. Then click Next.
- Specify integration points if applicable.
-
Set the technical contact for your app.
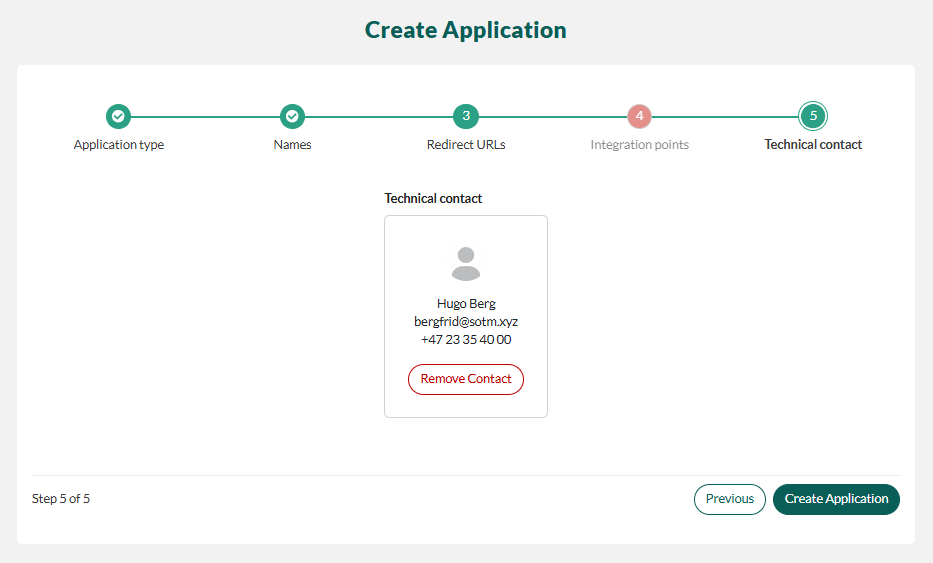
- Click Create Application.
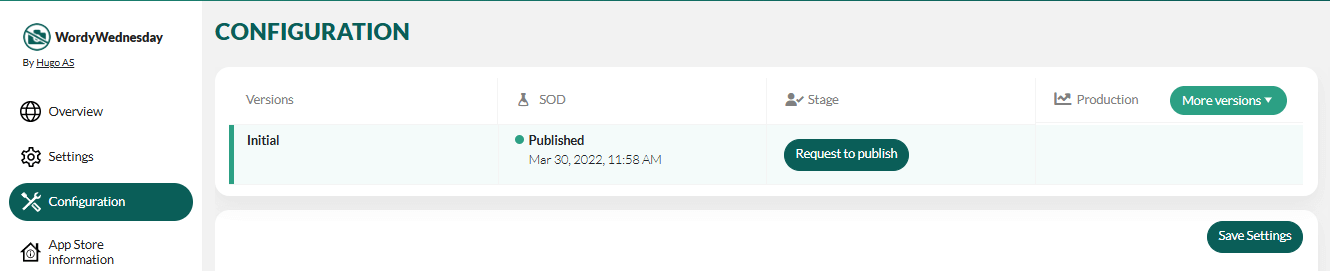 For standard apps, you can start working on the App Store information.
Watch the walk-through
Types of apps
When registering an application, you can choose from four predefined templates that will prompt you for the required settings. Alternatively, you can choose to start with an empty set and fill in what you need.- Web application
- Native application
- Server-to-server application
- Standard ERP sync and quote application
- Empty application configuration (DIY)
Default config
Get keys
After signing up for a developer account, you need to register your application idea to get your unique client ID and client secret so you can start coding. If you have registered the application but lost the keys, you need to look up your ID and create a new secret.Read more
What would you like to do?
- Get access to SOD
- Check what your client ID is
- Create a new client secret
- View or change CORS and redirection URLs
- Add a certificate
- Request to publish
Use AI tools
If you use an AI coding assistant such as Claude Code or Cursor to build against SuperOffice, install the SuperOffice CRM skill for up-to-date, agent-ready context.Install the skill for your product.